

Task 1
Sort the cards into two groups: living and non-living.
Task 2
Answer the following questions:
Task 3
Watch the video below.

Every living thing is made up of cells.
Most cells are too small to see without a microscope. A microscope is used to magnify objects (make them look bigger).
Do you know what types of cells are in the following images?
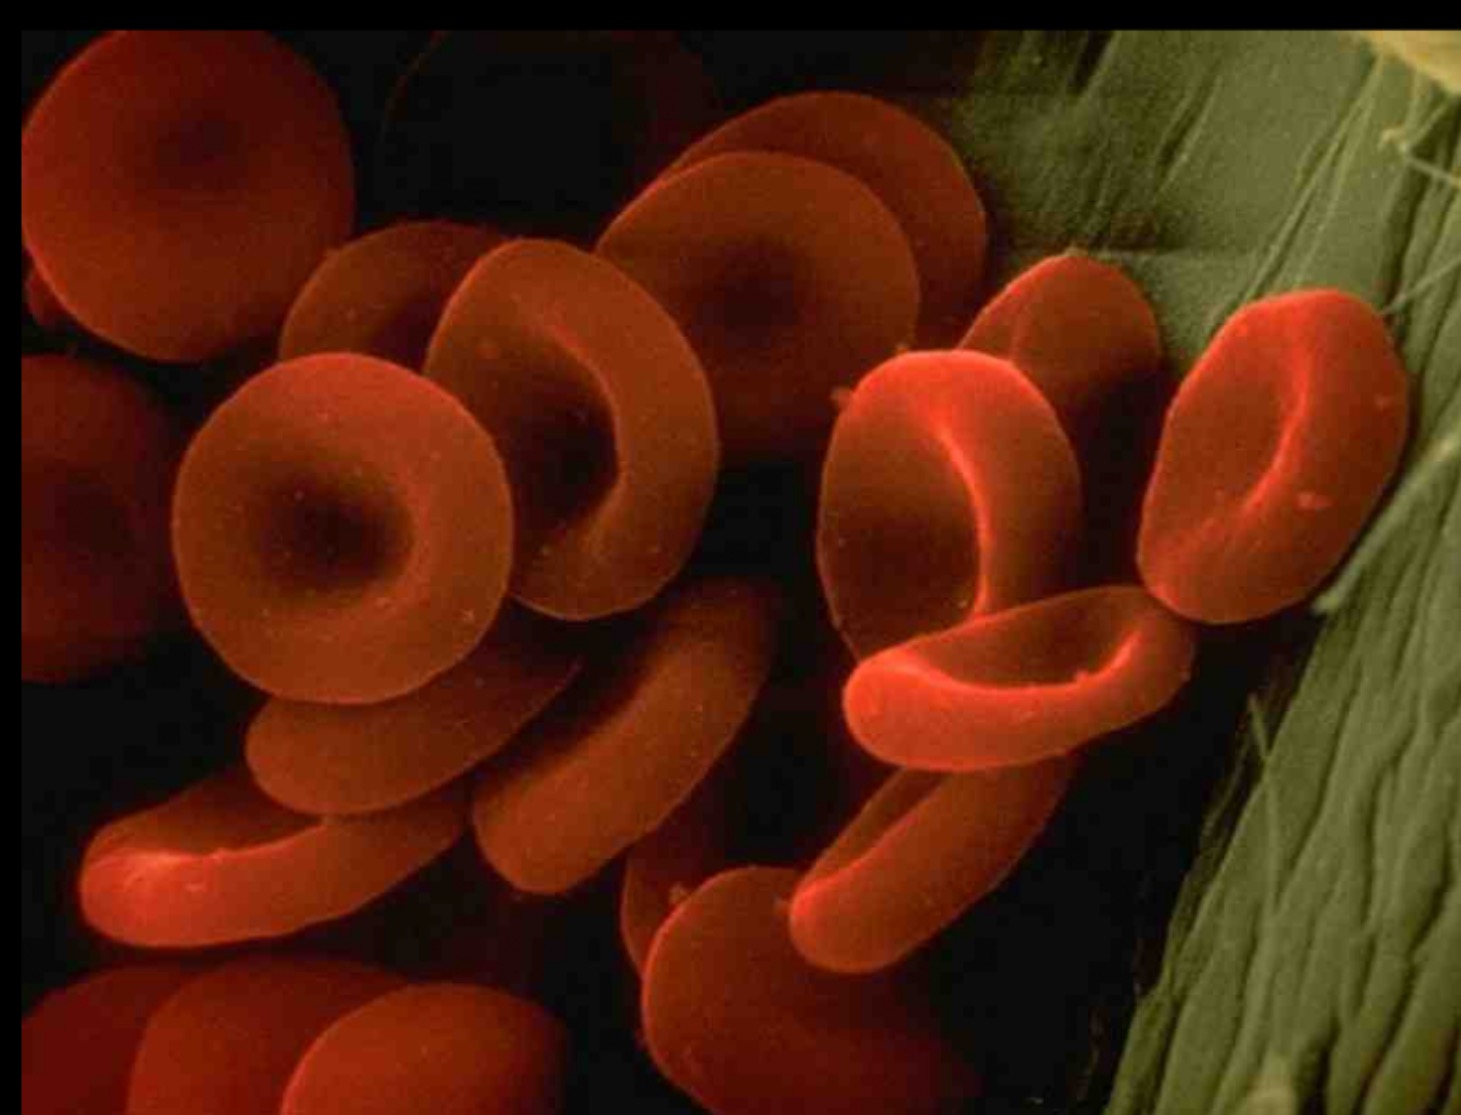
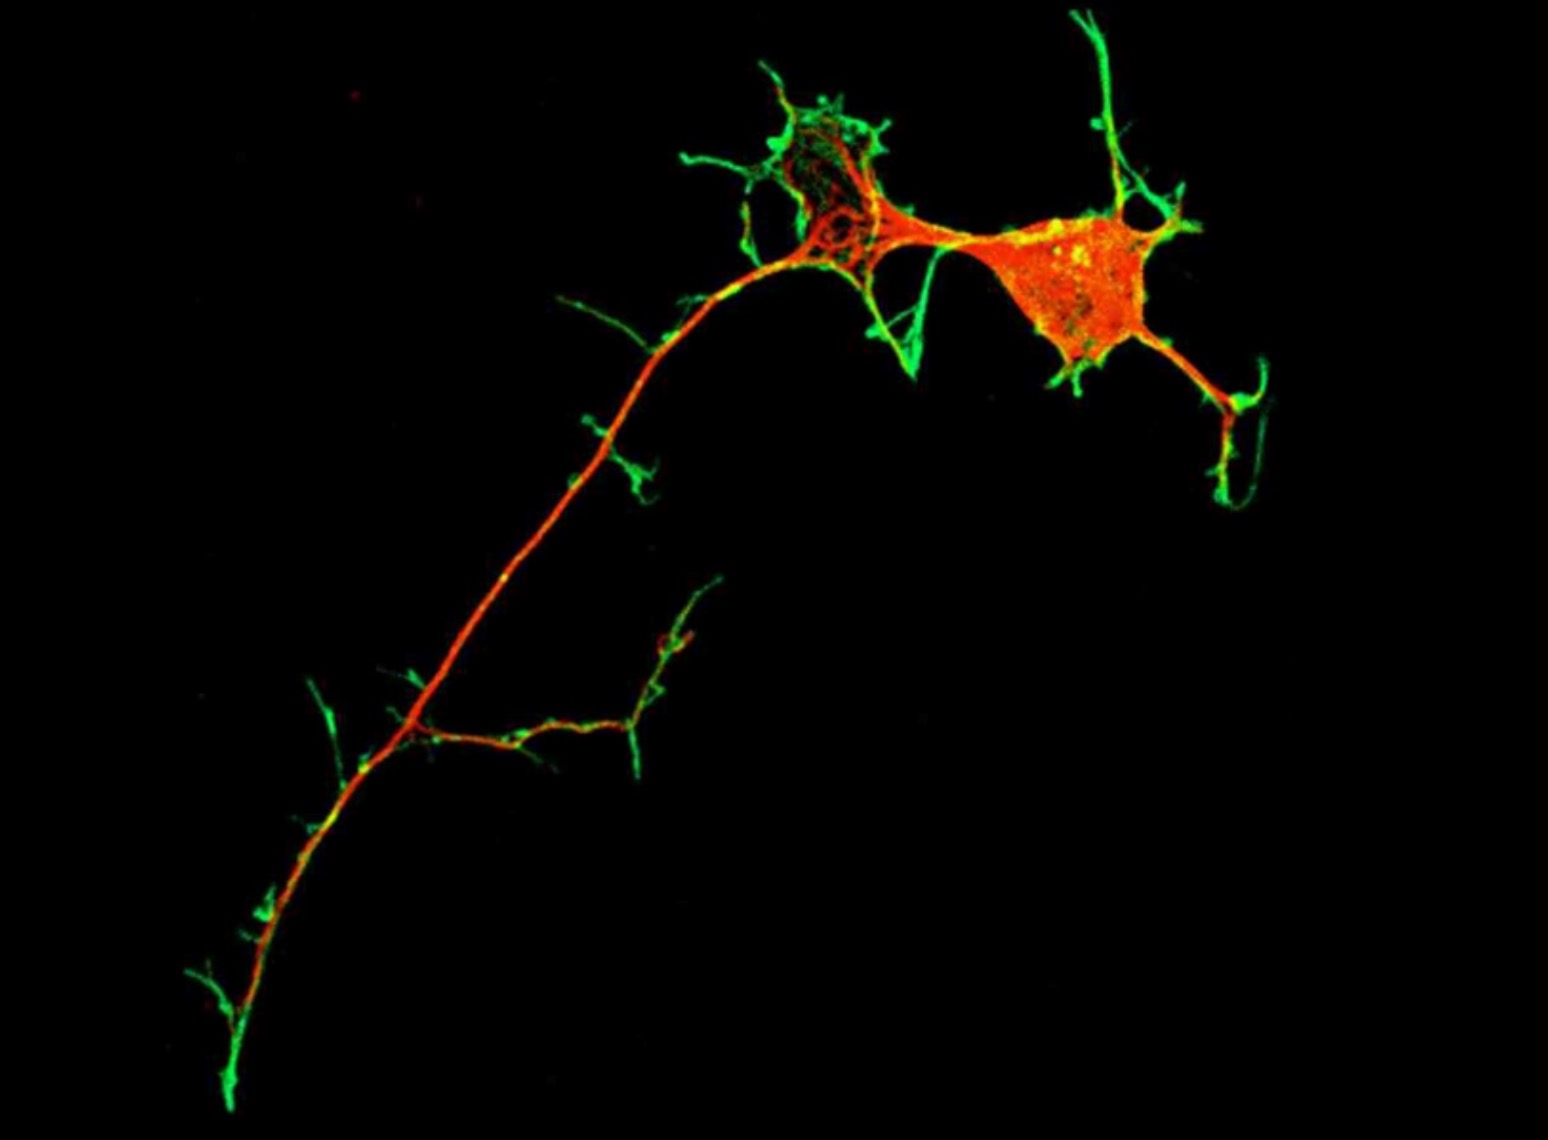
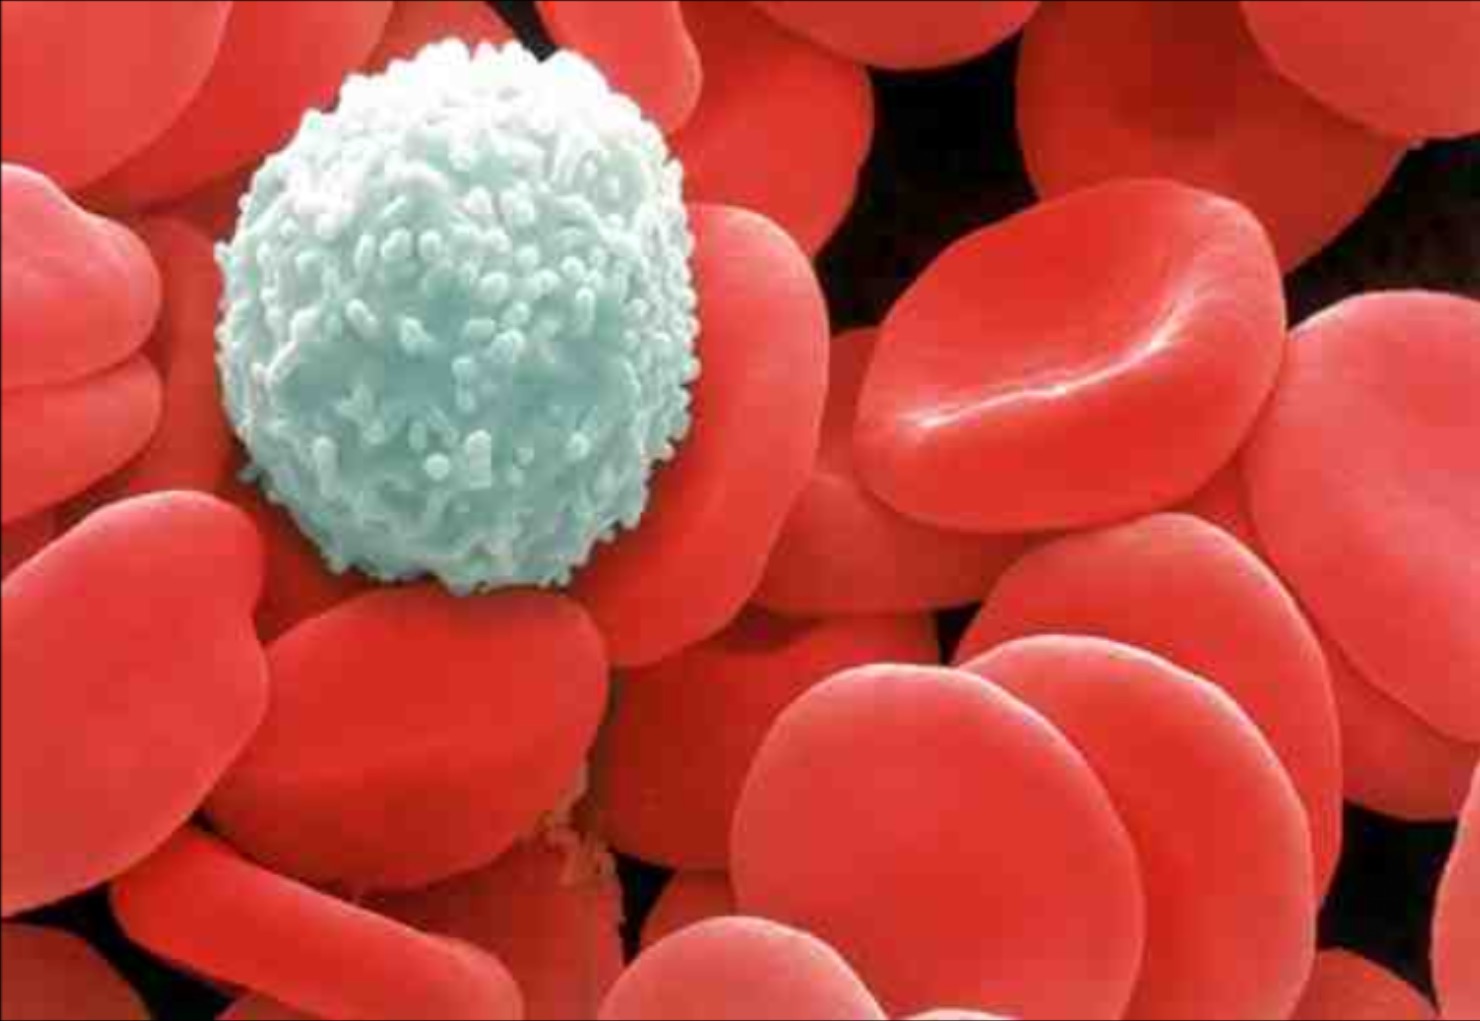
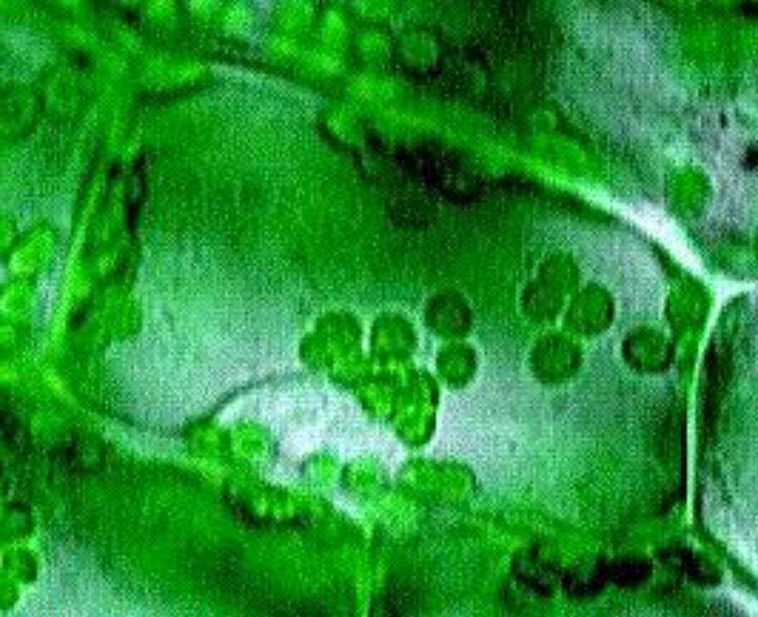


Collect a microscope.
Carry the microscope by the handle, with one hand underneath the base.
When carrying the microscope it should be the only thing you have in your hands.
Working in pairs, use bluetack to add labels to each part of the microscope.
OR
Drag the labels below to the correct part of the diagram below.
Have your work checked before filling in the labels on your microscope diagram.
Stage
Fine Focusing Dial
Rough Focusing Dial
Mirror
Eyepiece
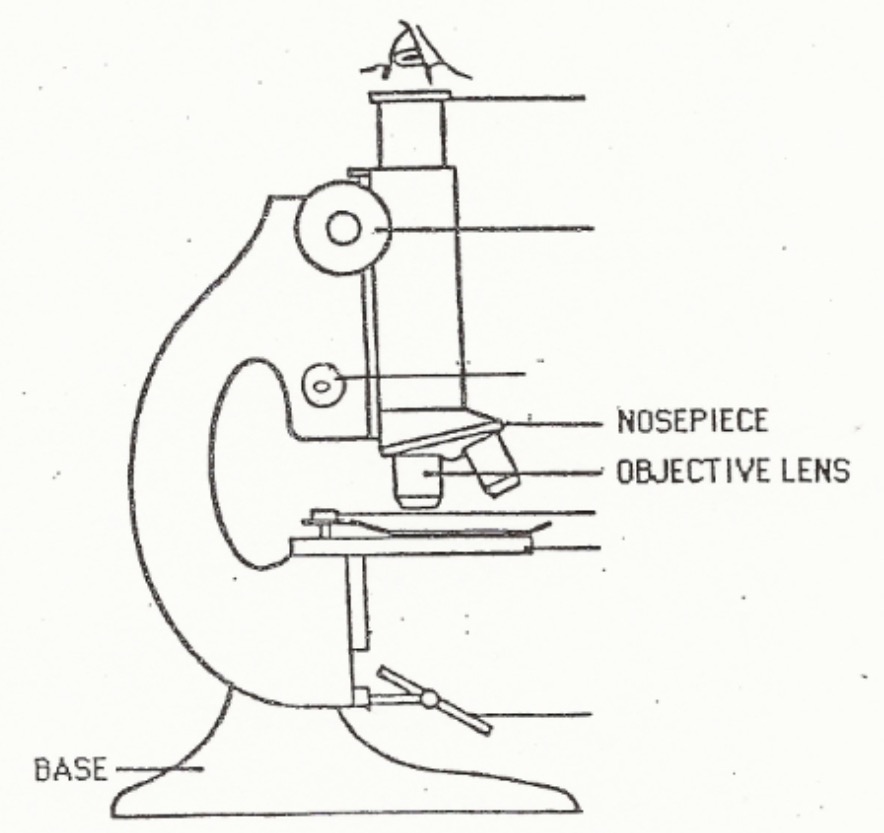

When an object (thing you are looking at) is placed under the microscope its image (what we see) is u_____ d___ and b___ t_ f____.
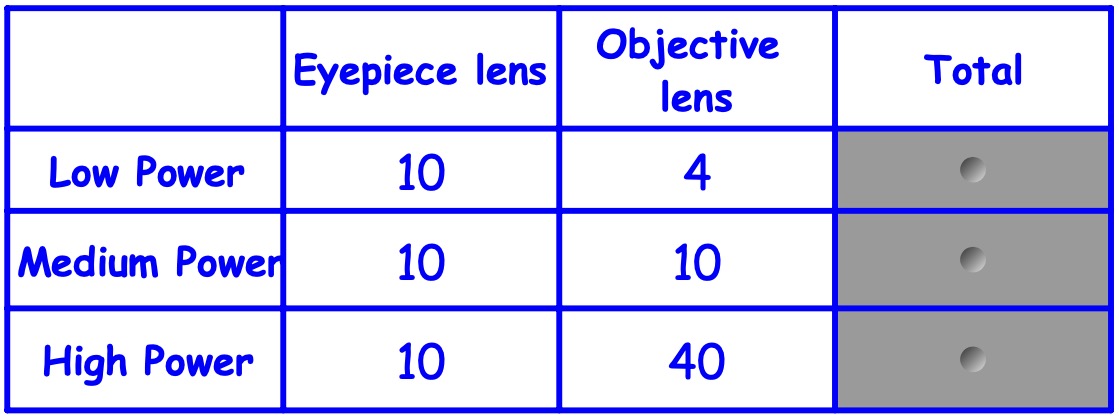
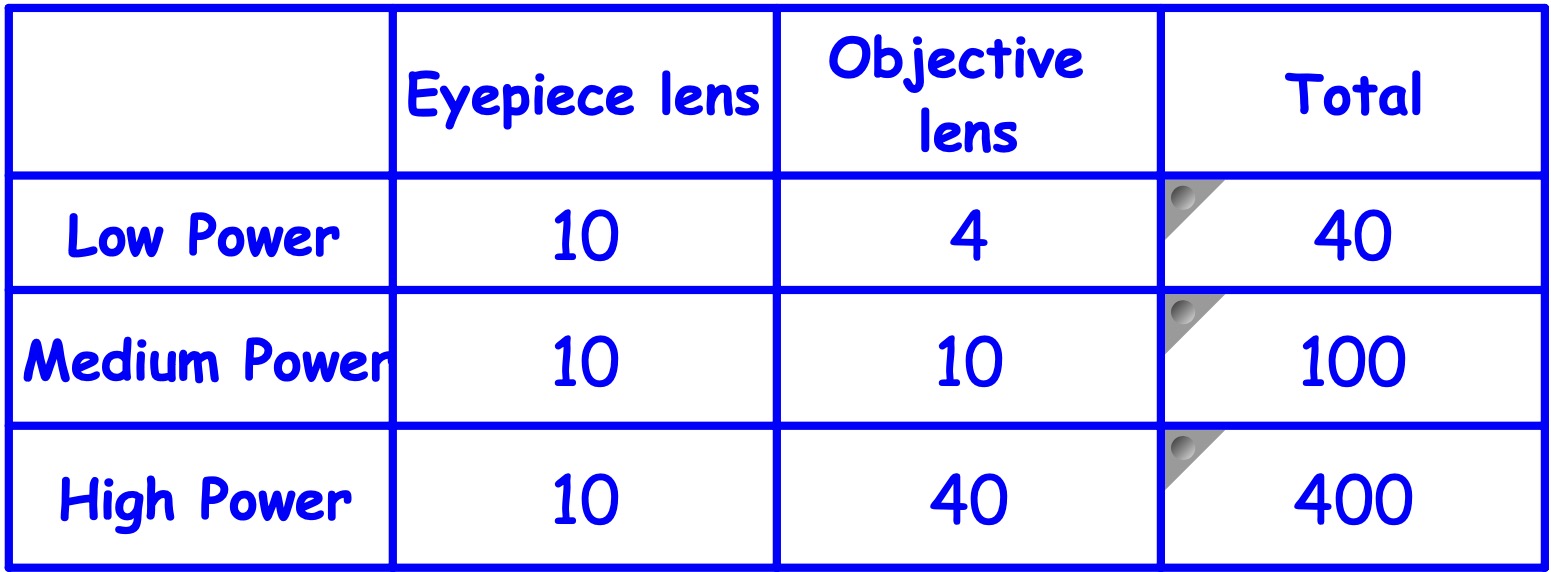
The number of times an object is made bigger is called the magnification.
This is worked out by:
Eyepiece Lens 'strength' x Objective Lens 'strength'
Look at the number written on the eyepiece lens and on the objective lenses. Then copy and complete the table:
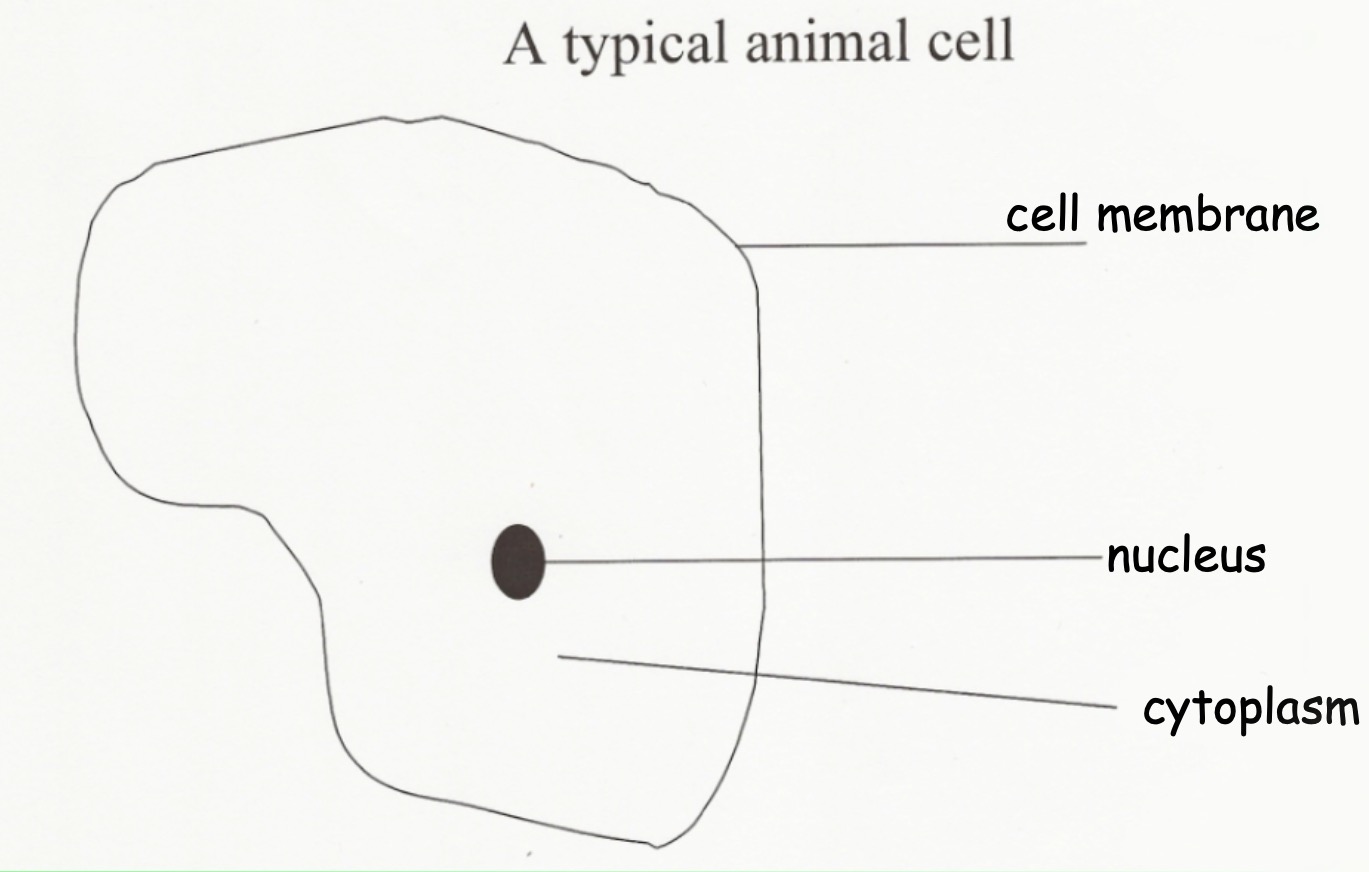
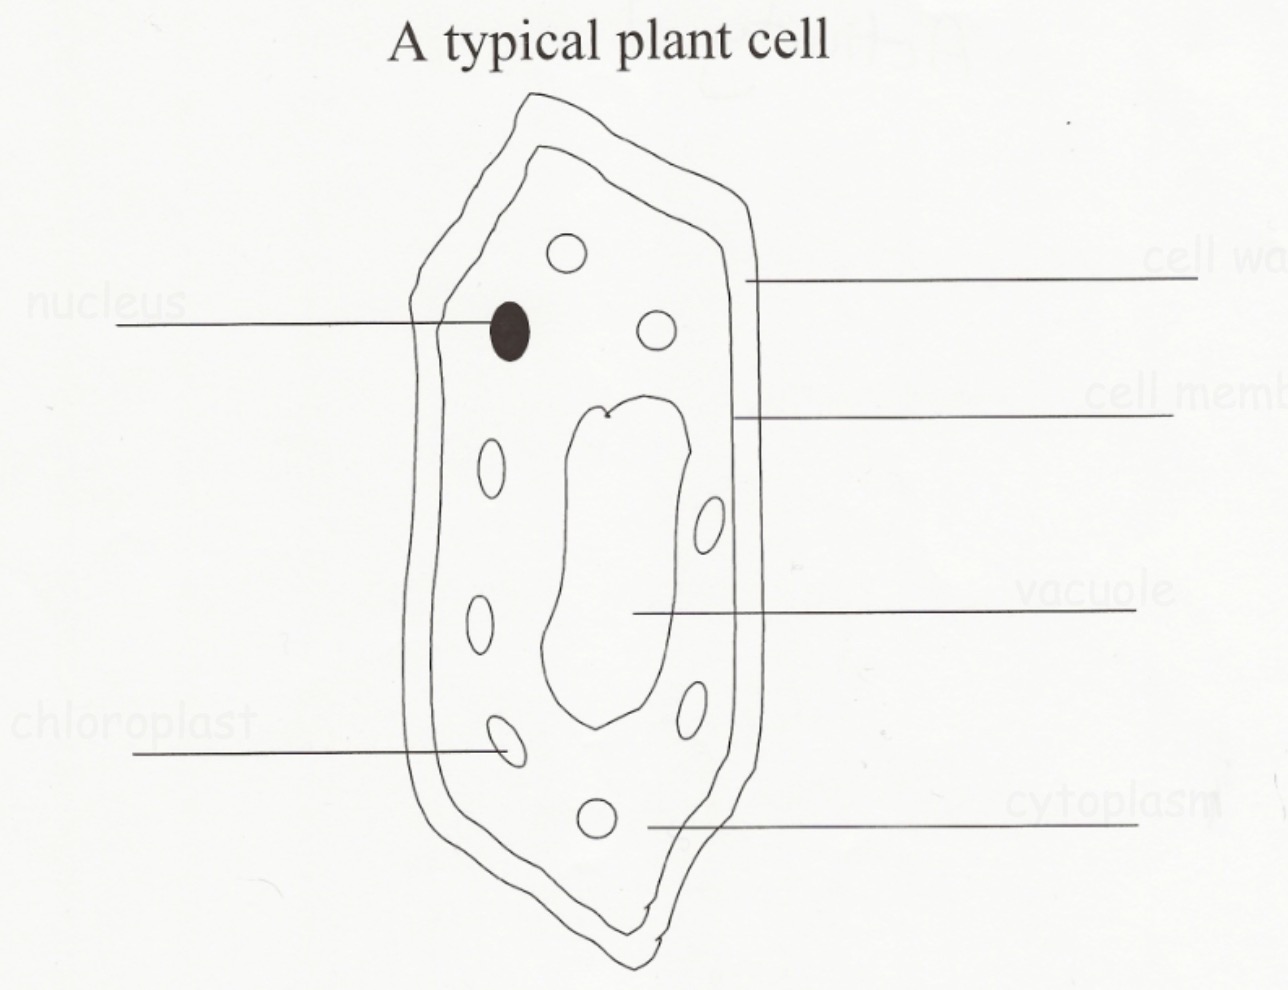
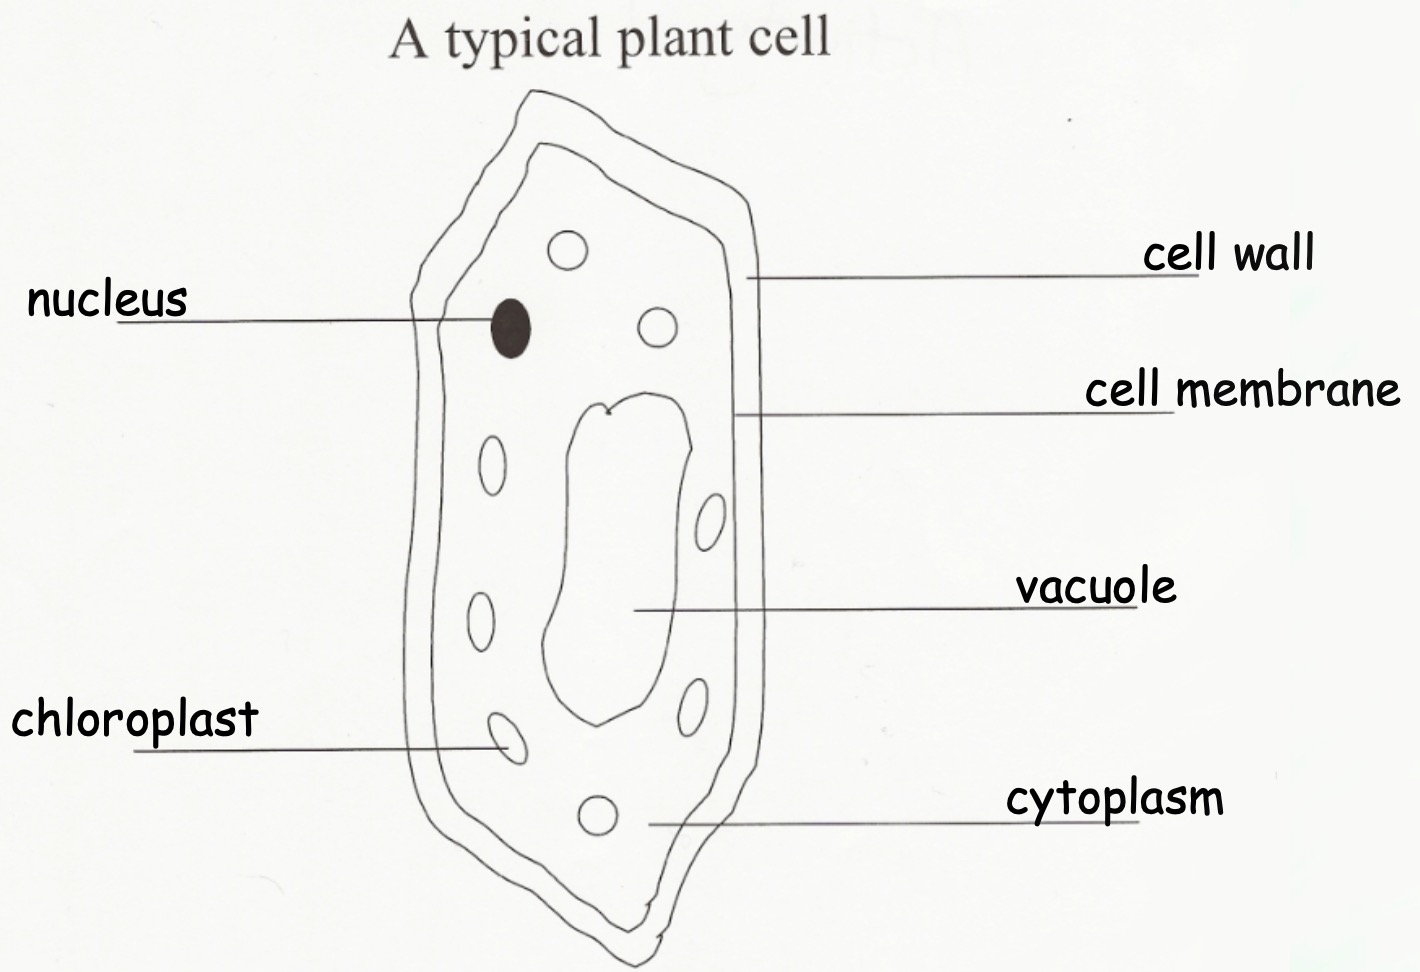
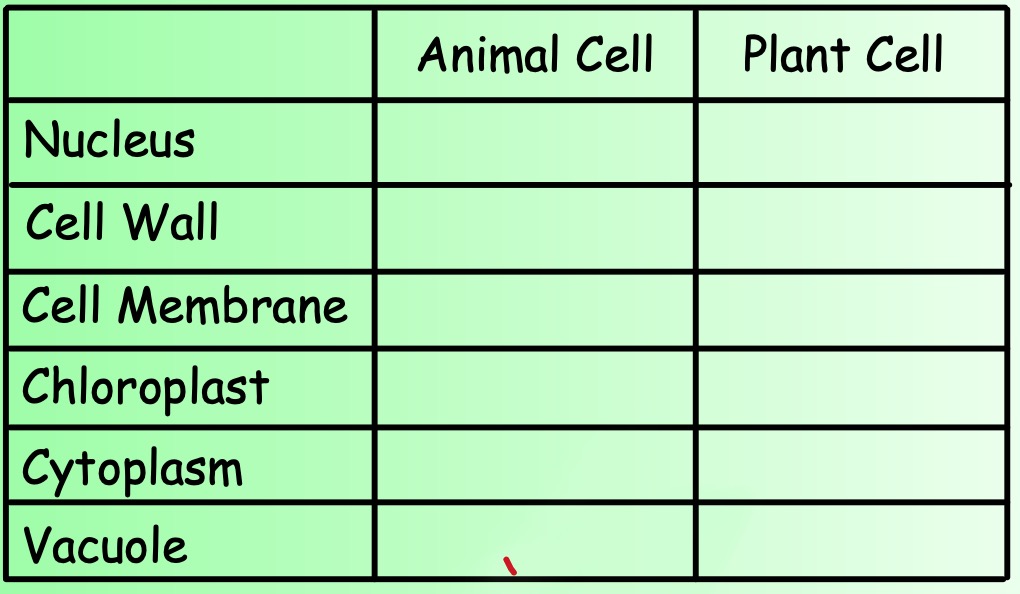
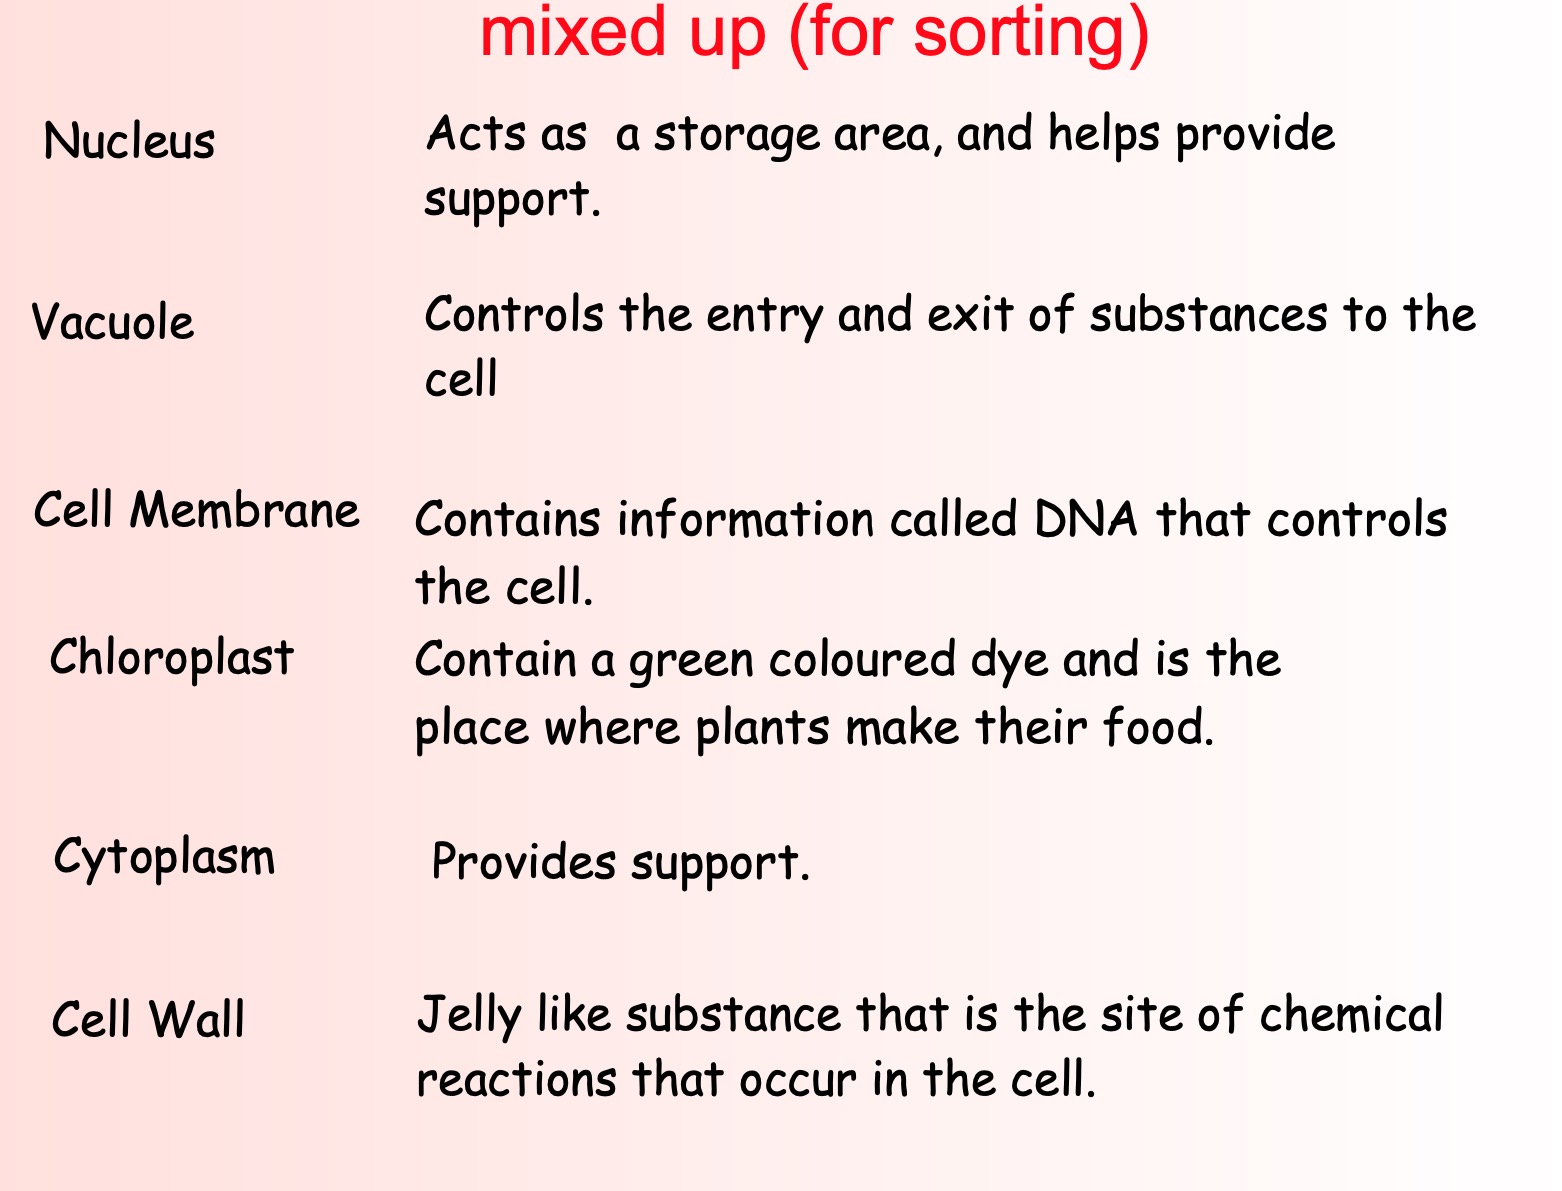
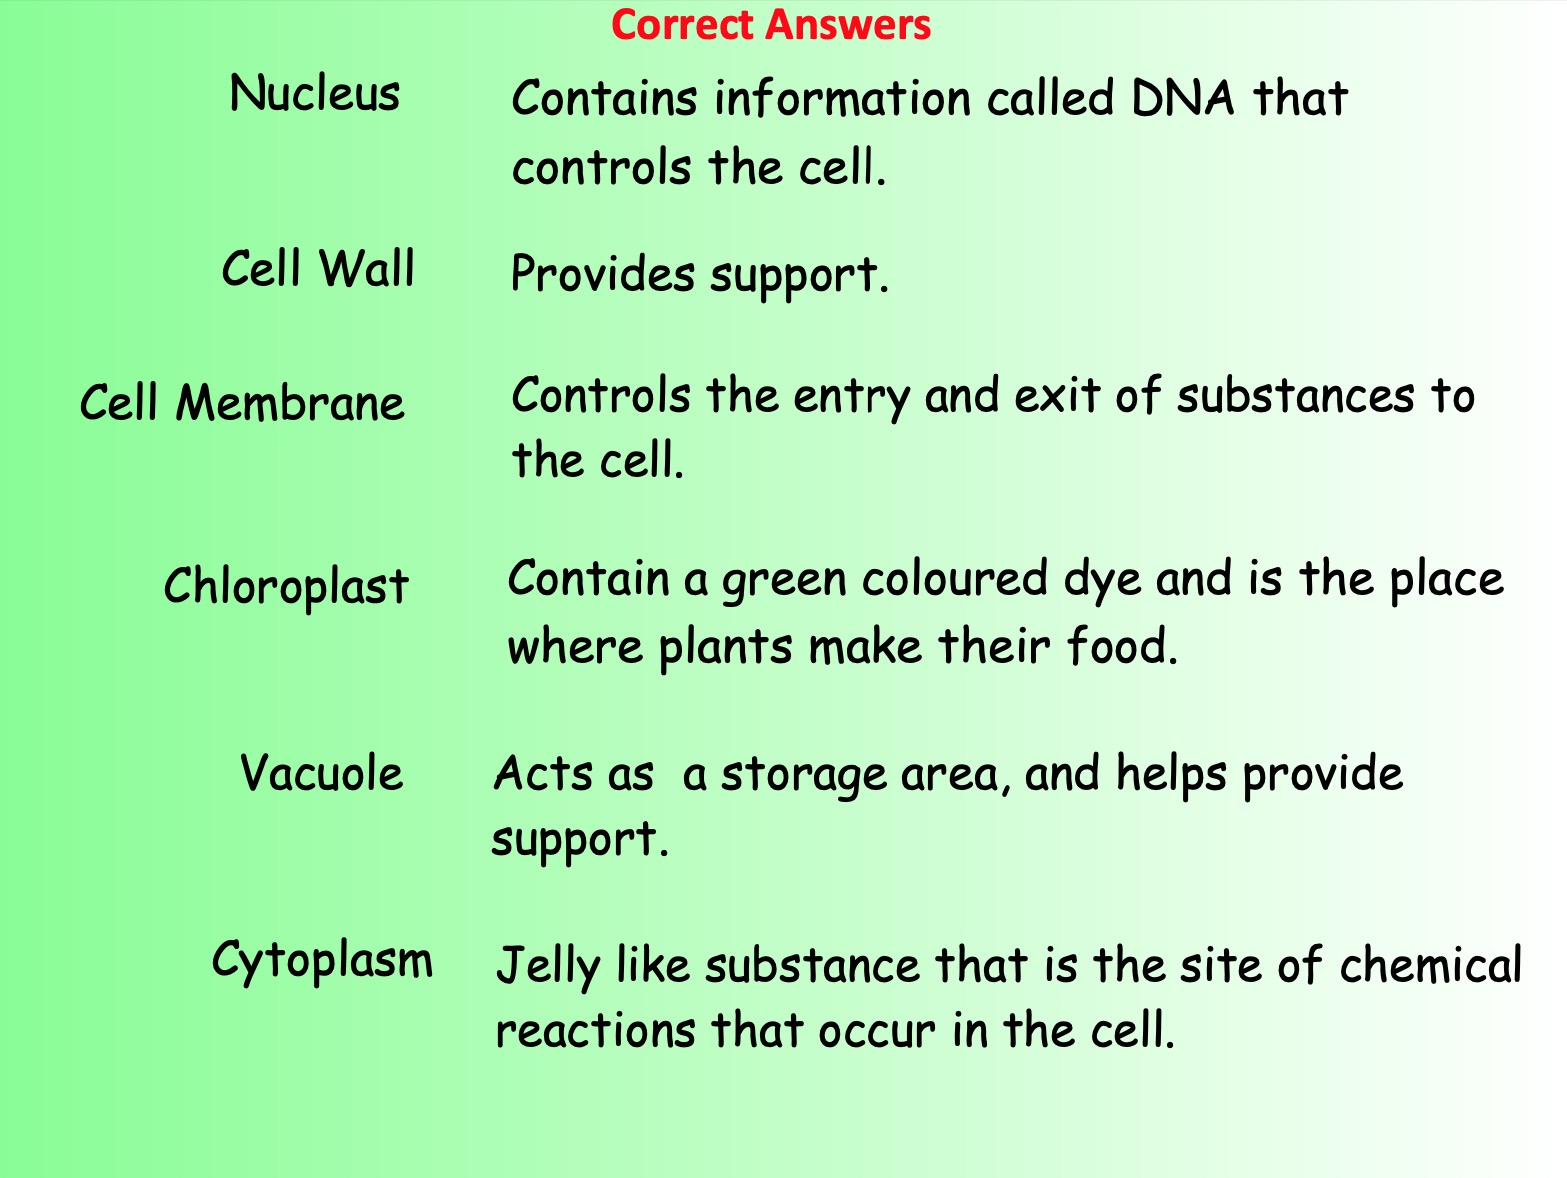
Watch the videos below on what we have found out so far about cells.
Collect and complete the cells graphic organiser worksheet.
Collect and glue in the "Making a Slide" handout and read it carefully.
Watch your teacher demonstrate how to make an onion cell slide.
Make your own onion cell slide. Use the different lenses on your microscope to look at your slide.
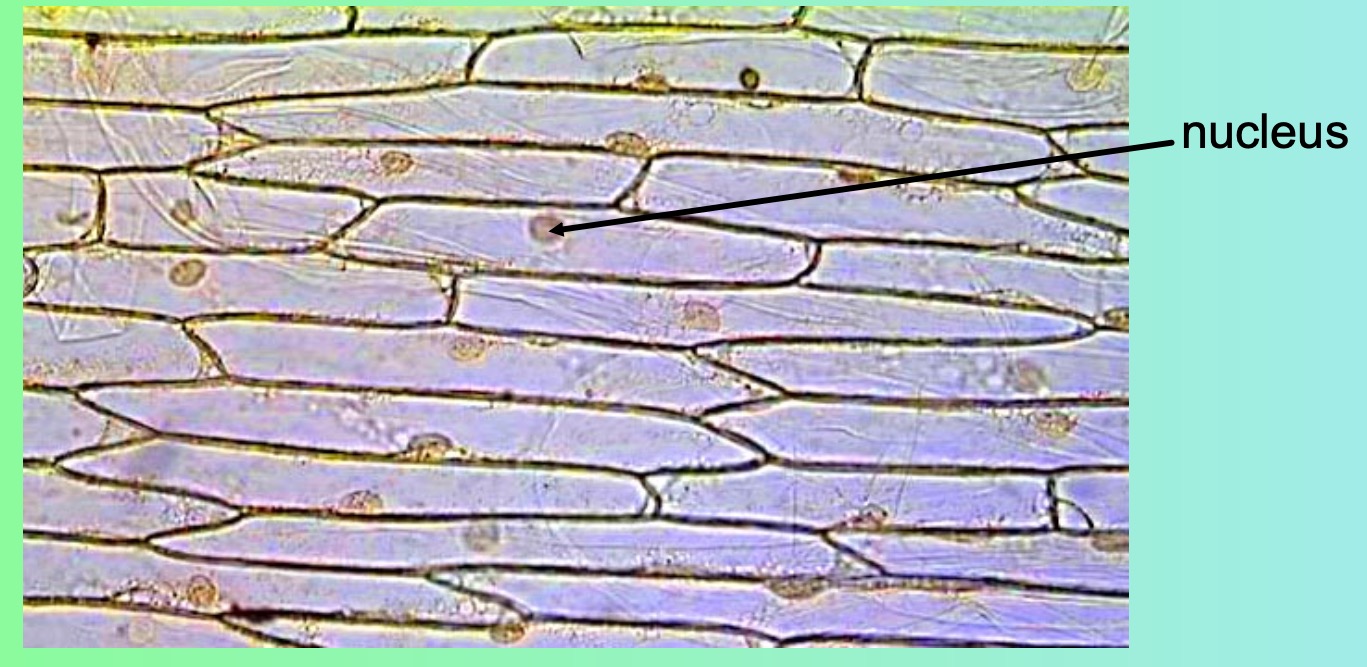
What was the purpose of adding iodine solution to your slide?
A stain is used to make the cell structures stand out. The iodine solution will stain the nucleus of the onion skin cells.
Look back over your hand out from last lesson on "Making a Slide".
Watch your teacher demonstrate how to make a cheek cell slide.
Make your own cheek cell slide. Use the different lenses on your microscope to look at your slide.
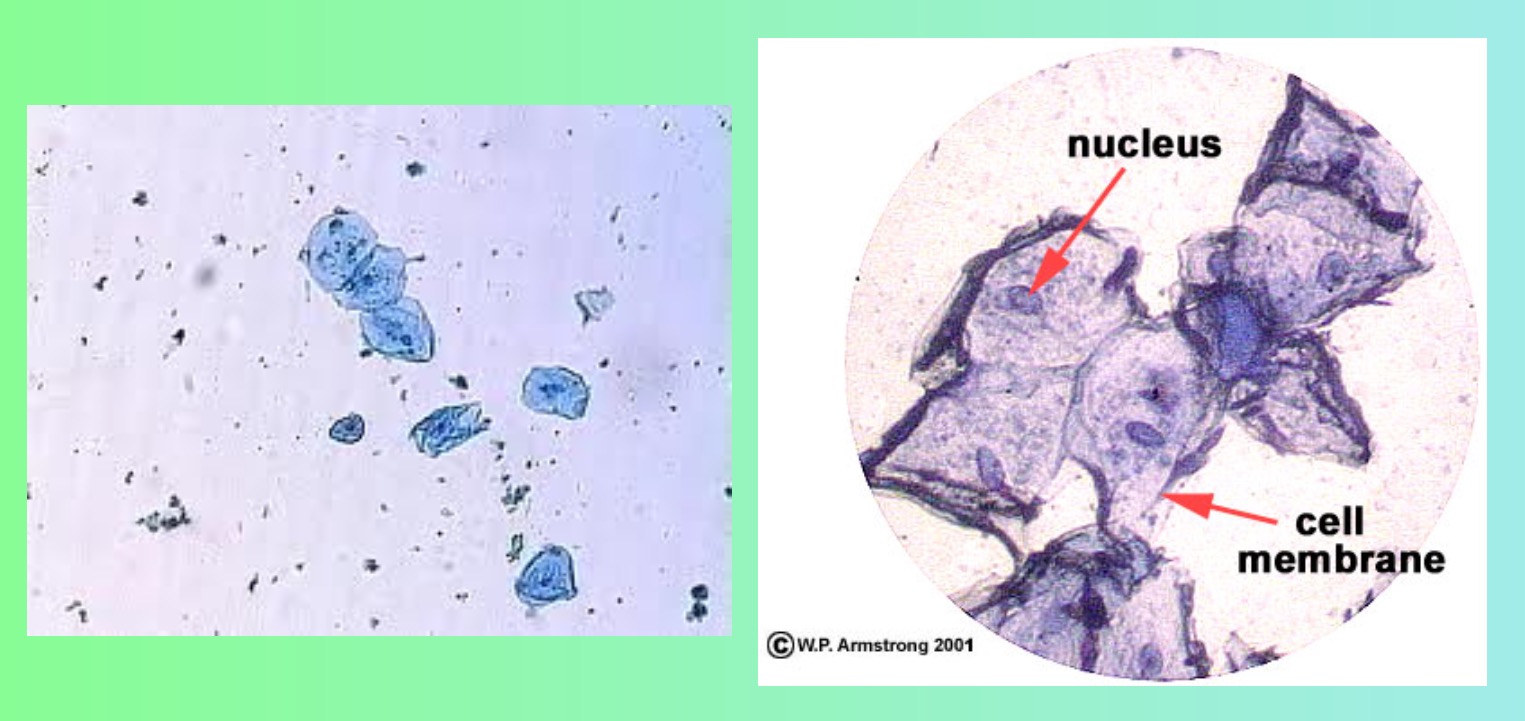
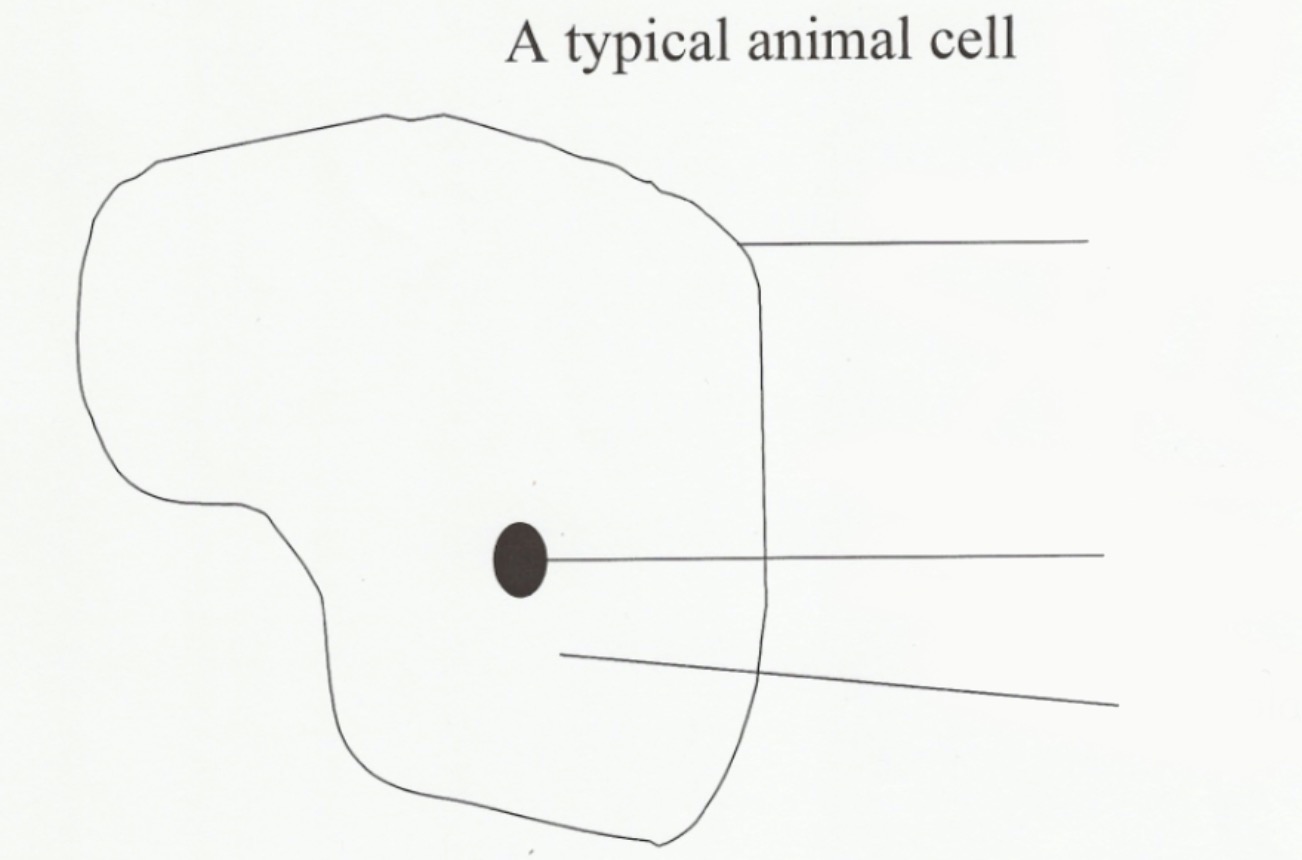
Draw your cheek cells, including:
Cheek cells are flat in order to provide a lining that will protect our bodies from things like bacteria.
Cheek cells are said to be specialised because their structure allows them to do a special job.
Plant and animal cells are often different shapes and may not have all the usual cell structures. This allows them to carry out different jobs.
For example:
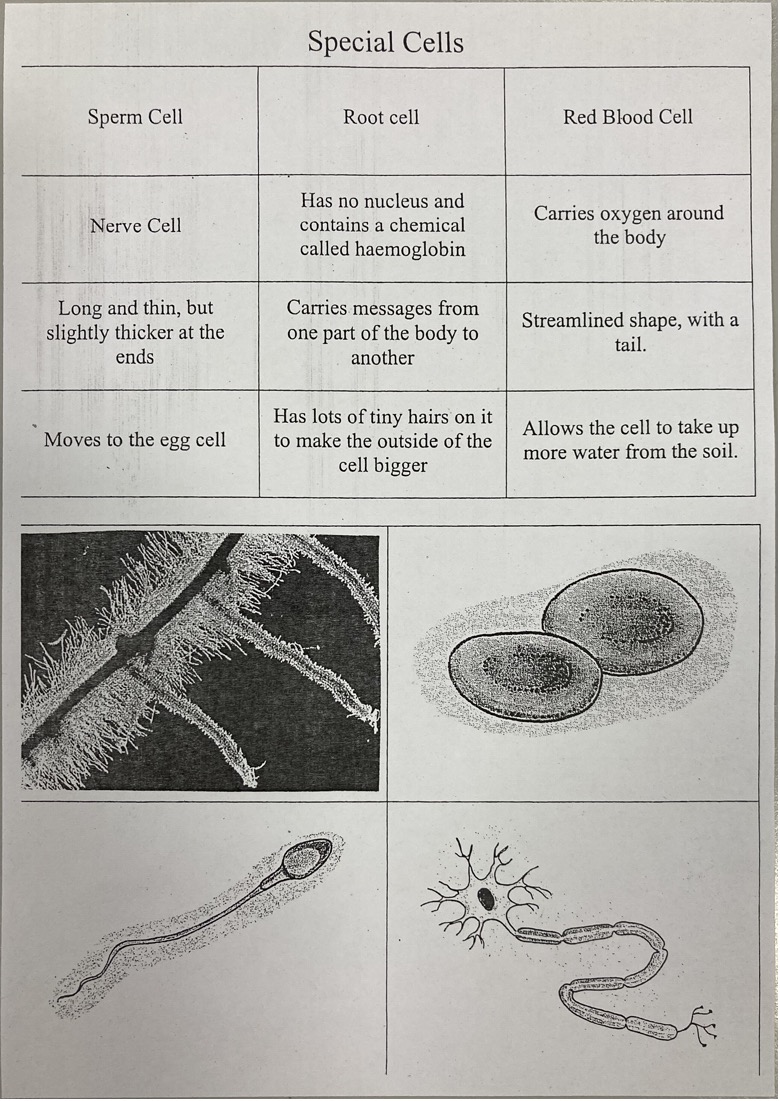
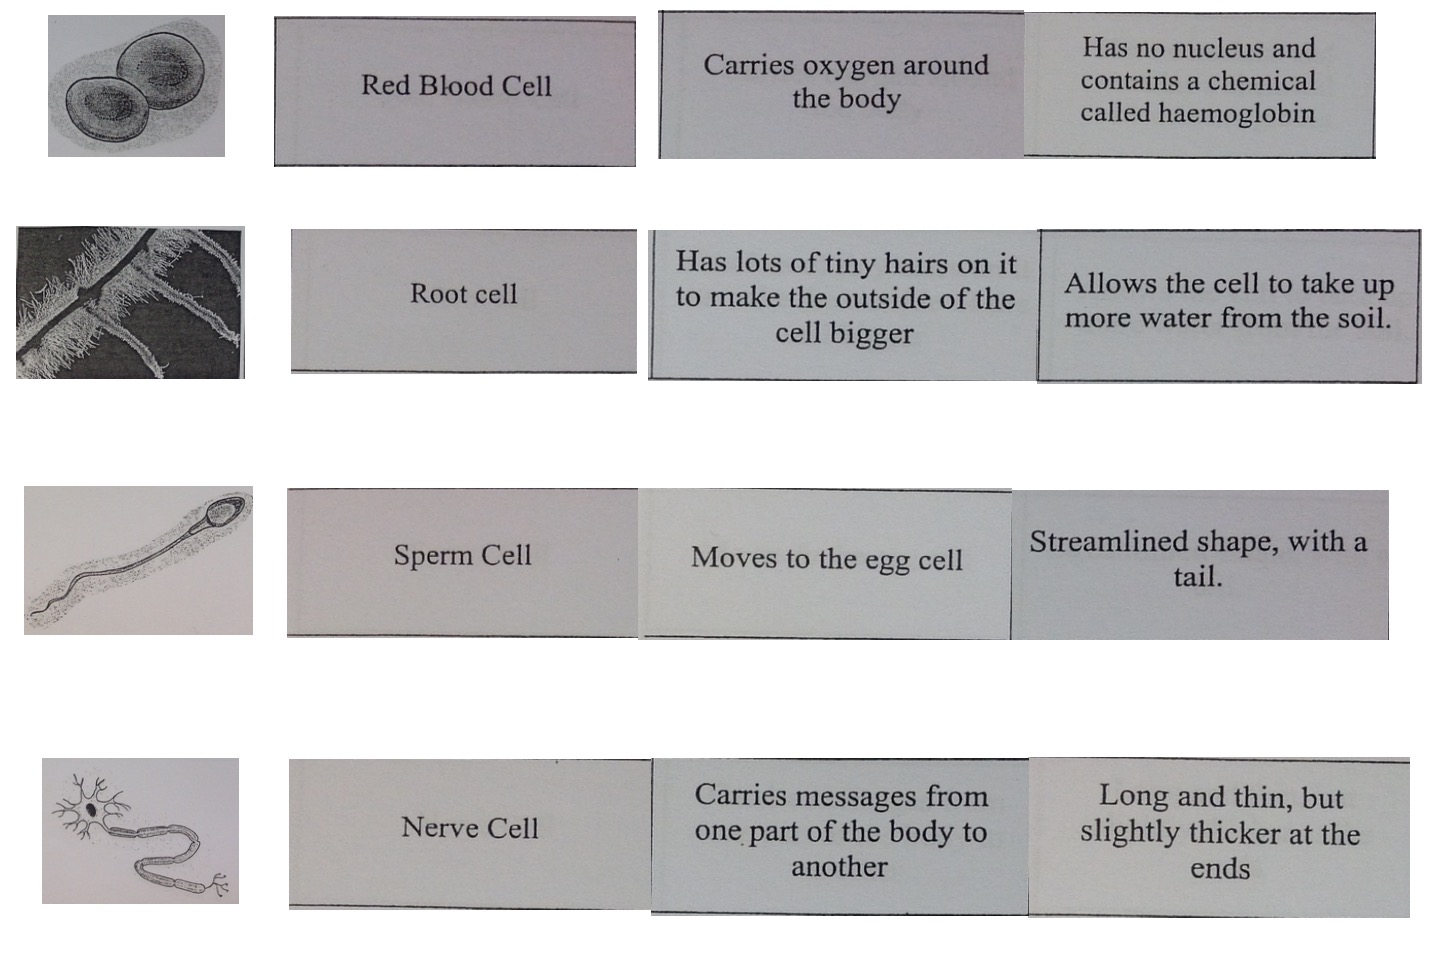
Try to match up the pictures of the cells with their name. Thank about their structure. Does this help them to carry out their function?
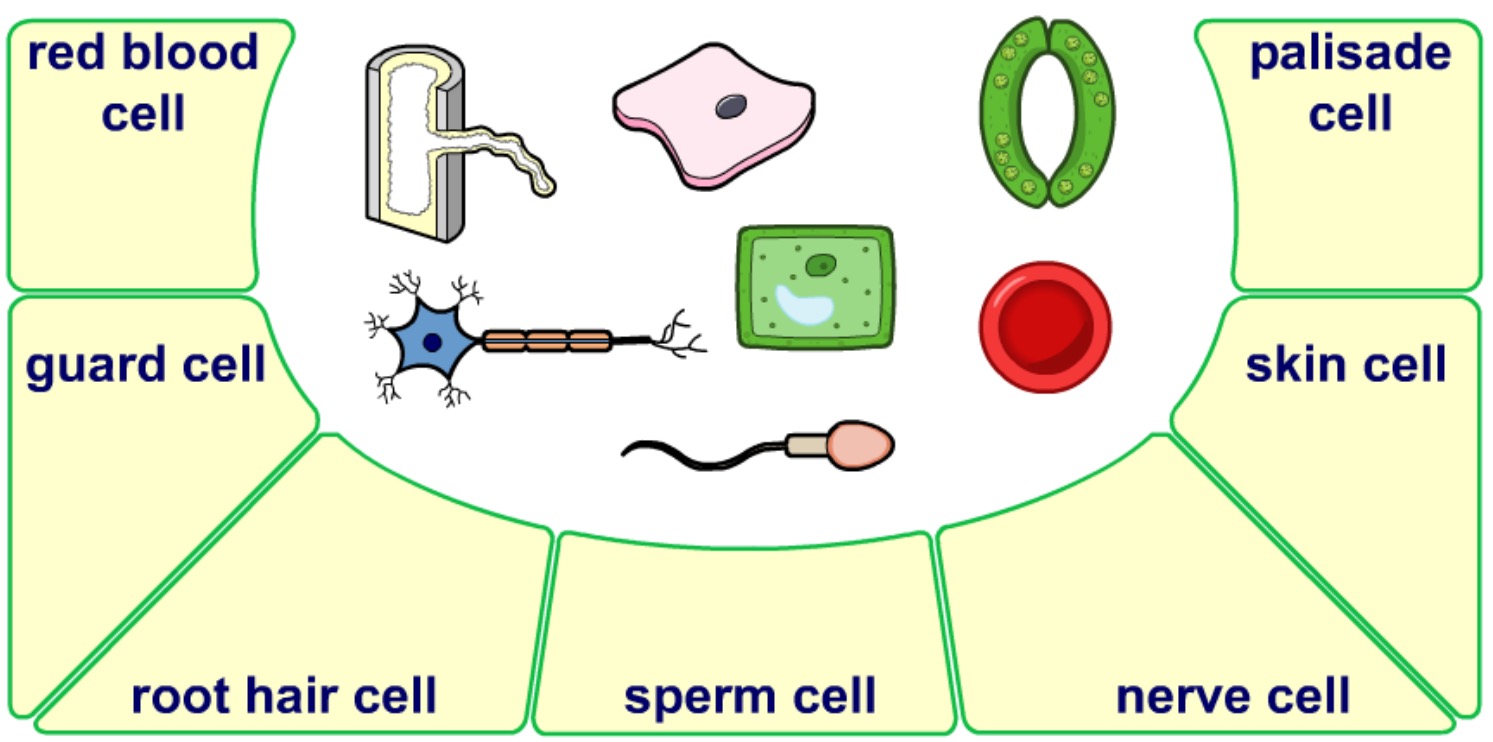
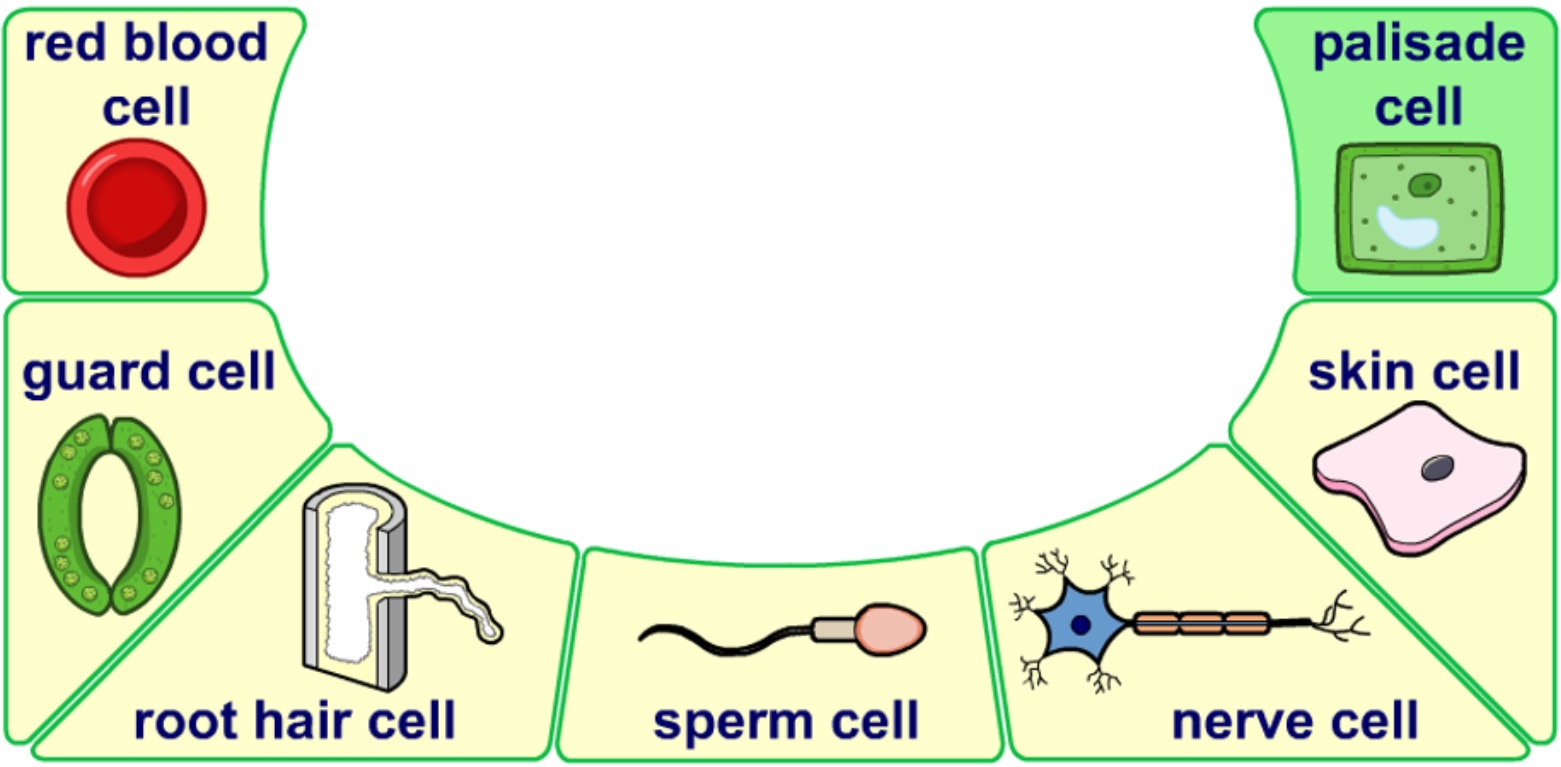
Collect the sheet Special Cells.
Make sure that you have a copy of the Microbes spider diagram below. Fill it in as you read the following information on microbes.
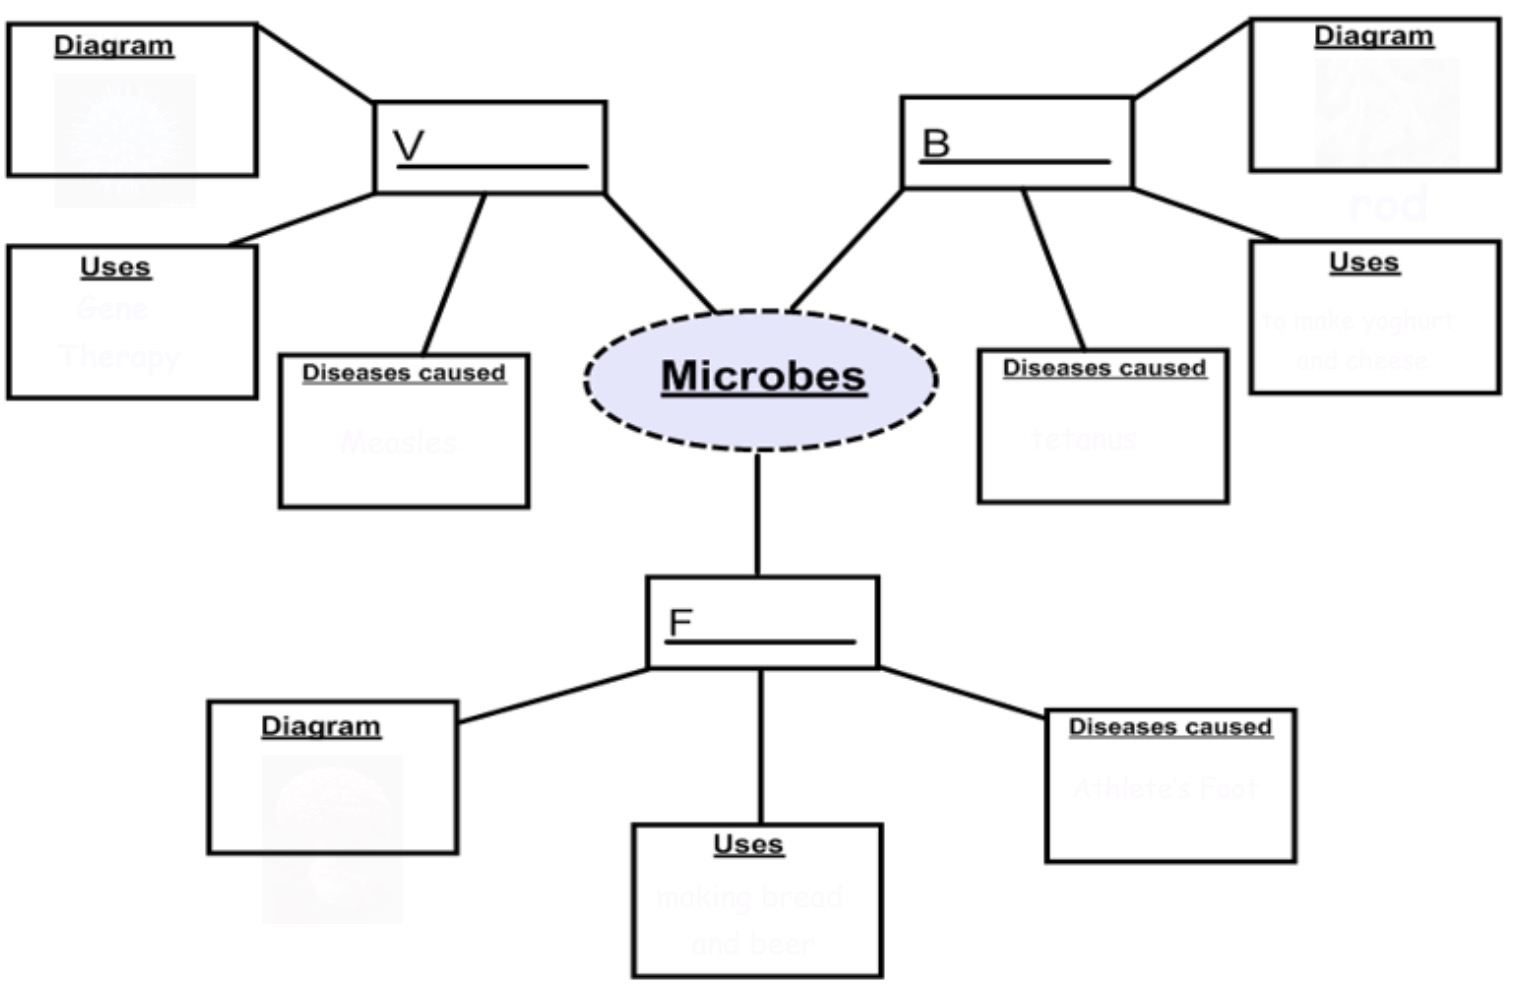
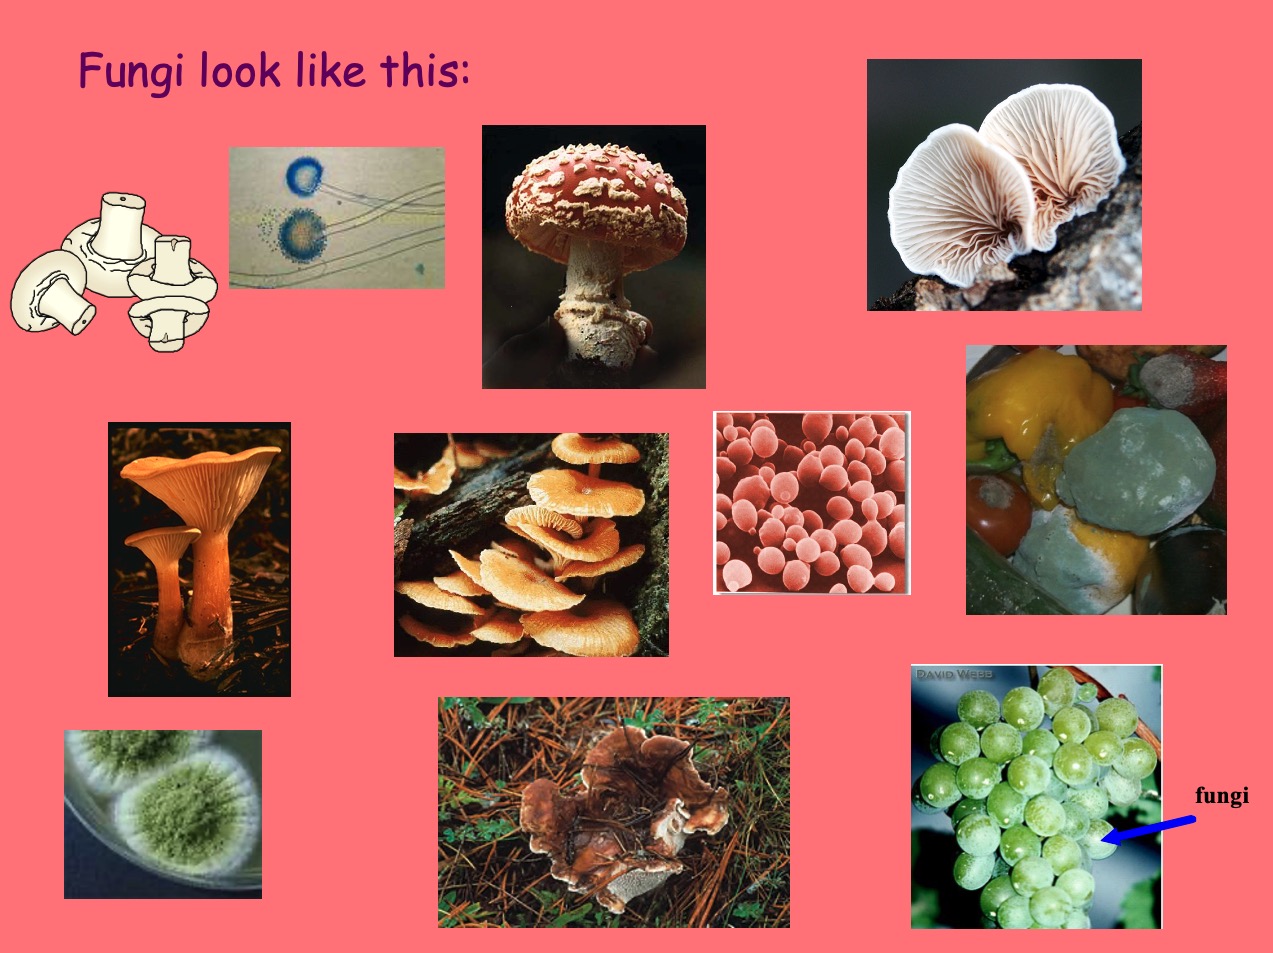
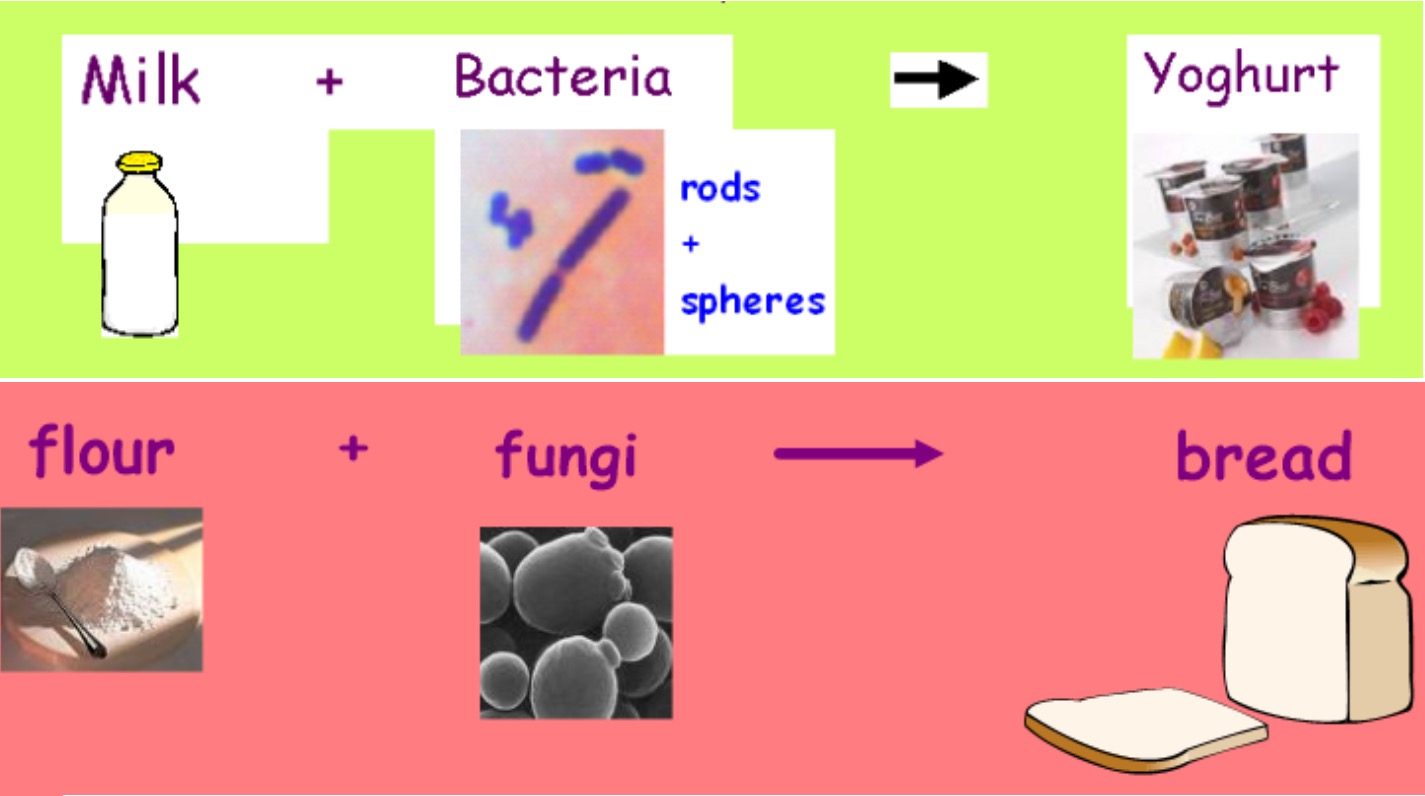
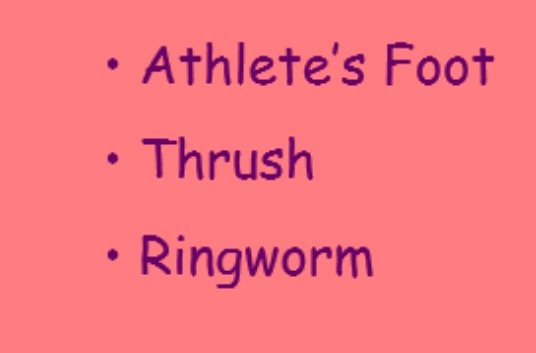
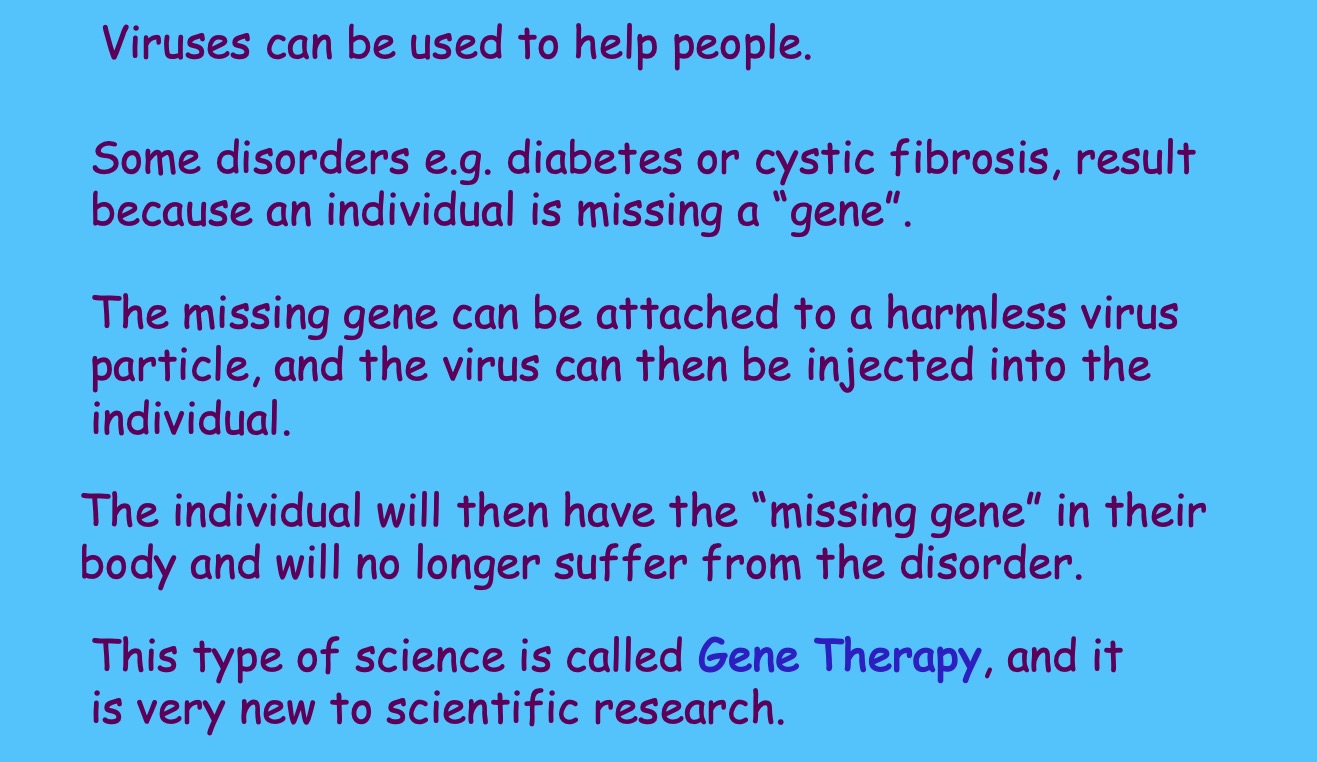
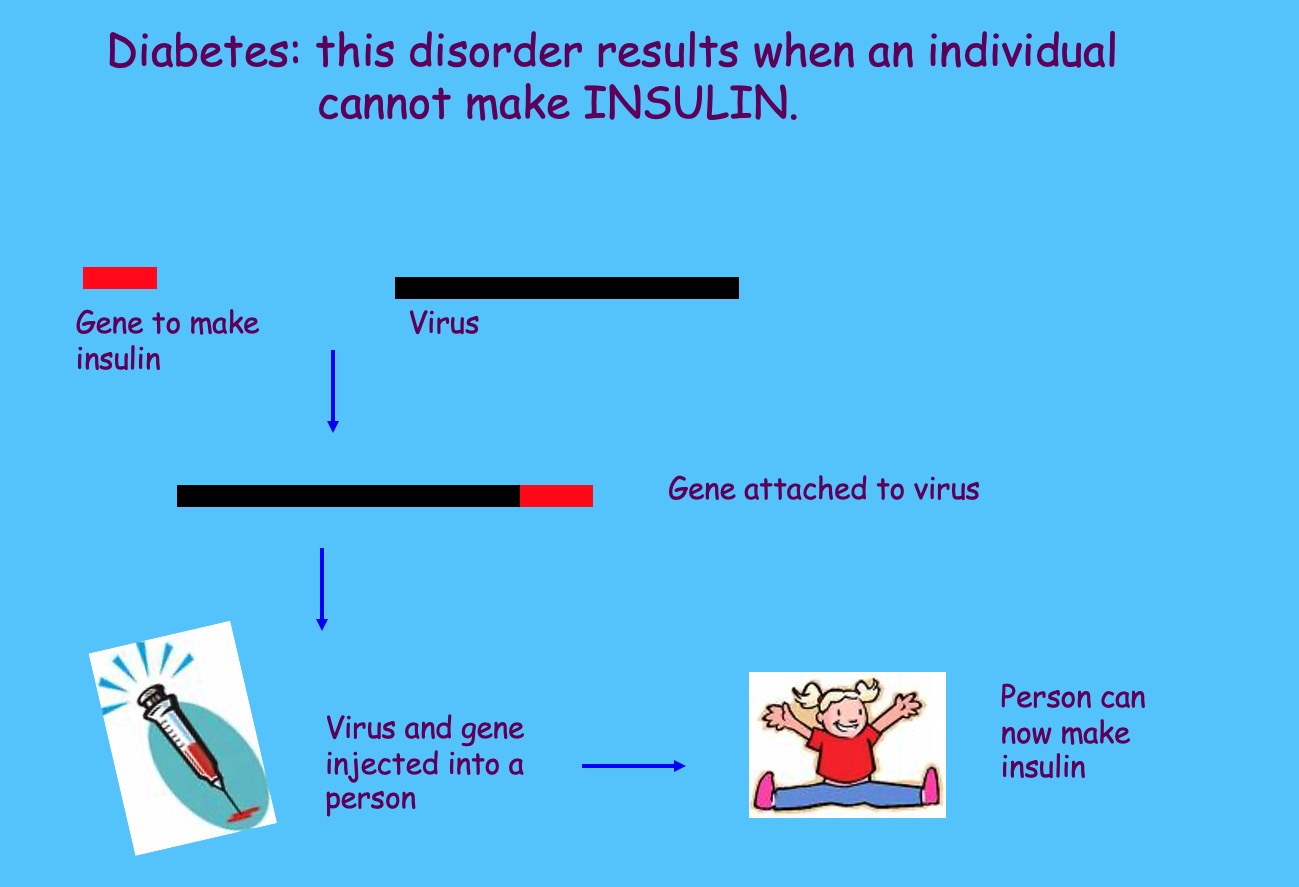
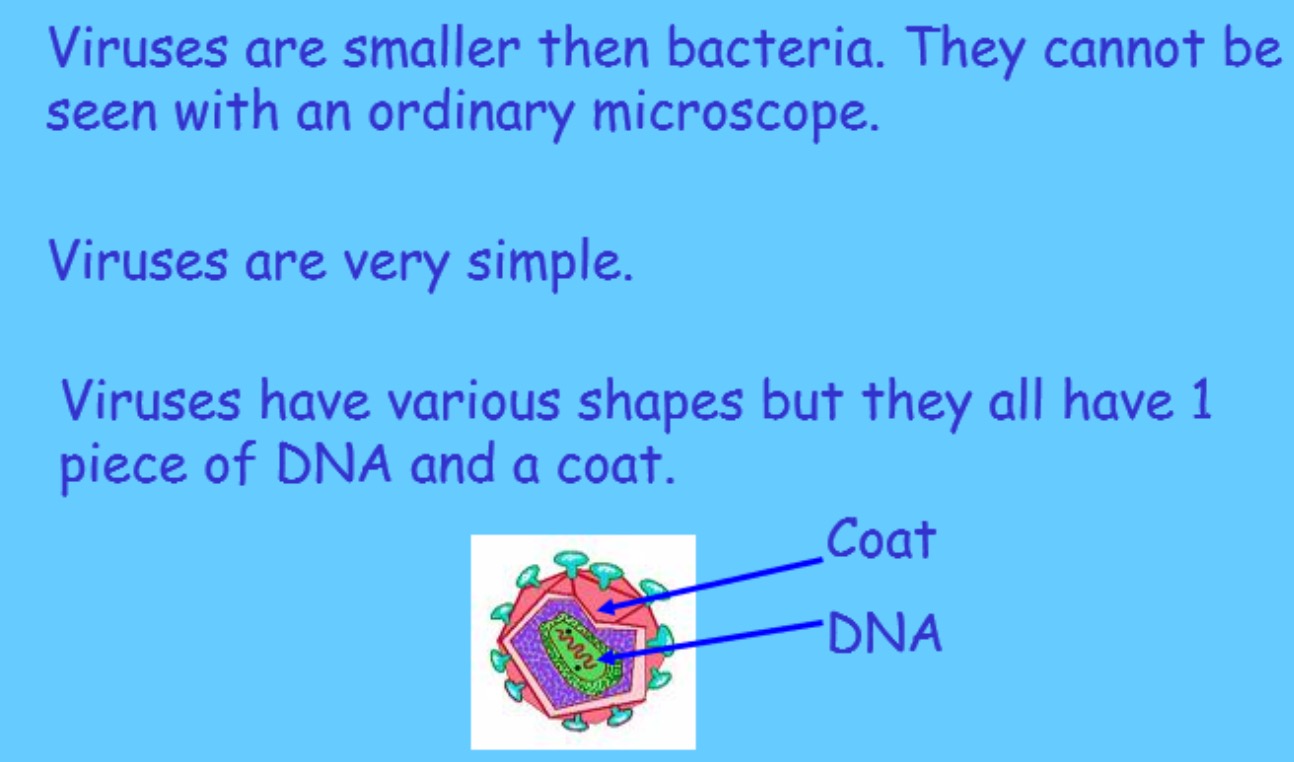
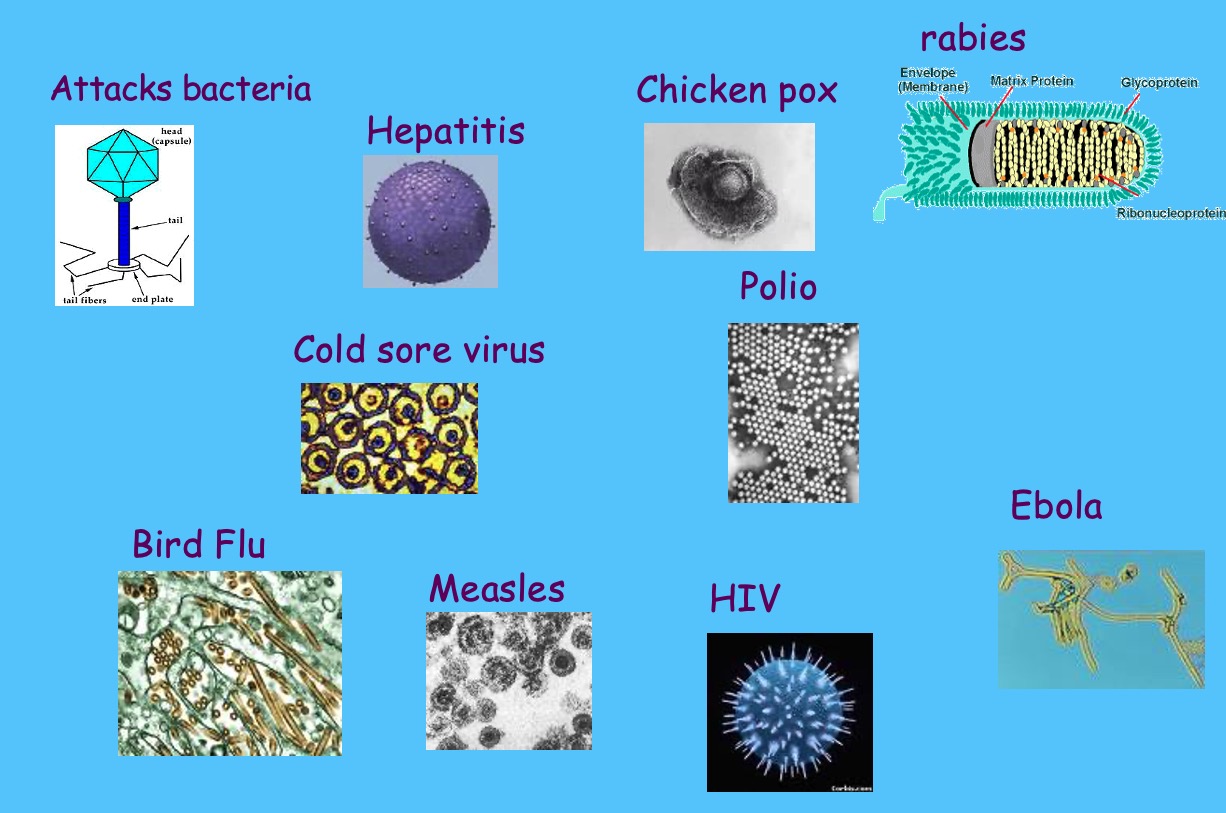
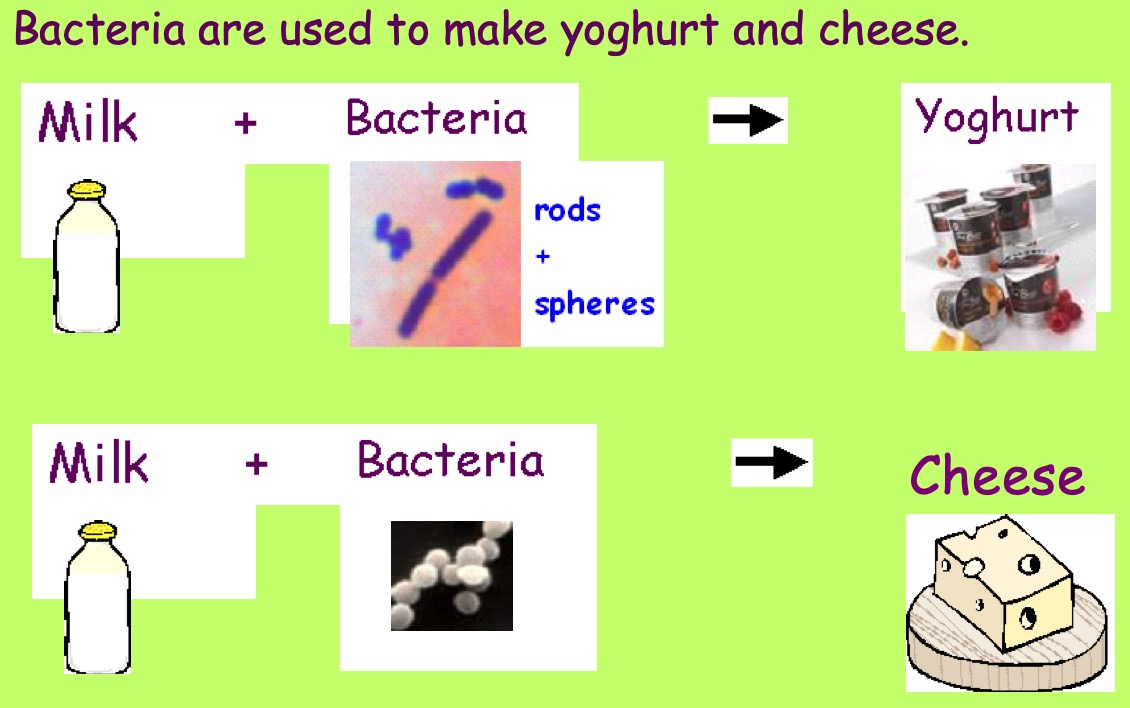
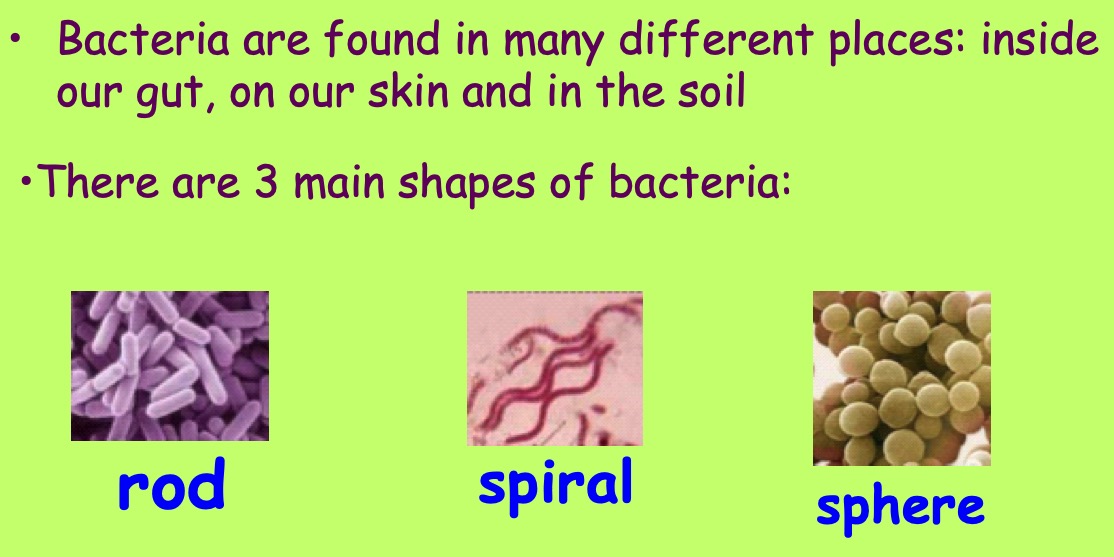
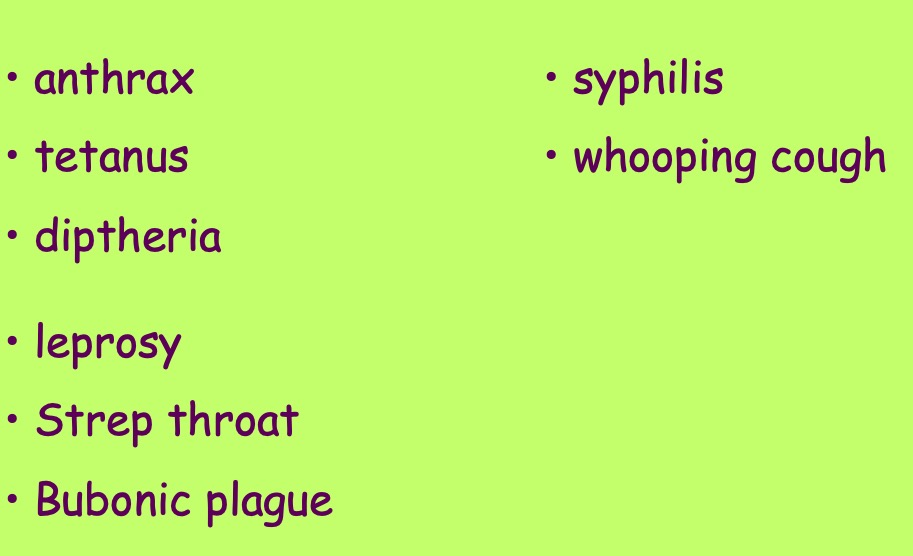
In this task you will be choosing a particular microbe (virus, bacteria, protozoa or fungi) to research. Watch the videos below and follow the links below to help you decide which microbe you would like to research.
Find out some information about your chosen microbe. Use the 'Microbe Investigation' worksheet below to help you.
Once you have found out some information about your chosen microbe you will present it to the rest of the class.
Thinking about what you have learned about microbes from previous lessons, brainstorm with your partner what you think might be the best conditions for microbes to grow.
Make a list of three things that would let microbes grow well.
Microbes are often grown in laboratories in fermenters, flasks and on agar plates.
To grow well, microbes need a supply of nutrients (e.g. sugar) and a suitable (e.g. 20-40oC) temperature. Scientists can control the growth of microbes by altering the nutrient supply or the temperature.
Microbes can be killed by :
Collect the sheet Yeast Industries: Yeast and Bread Making and a blank sheet of graph paper.
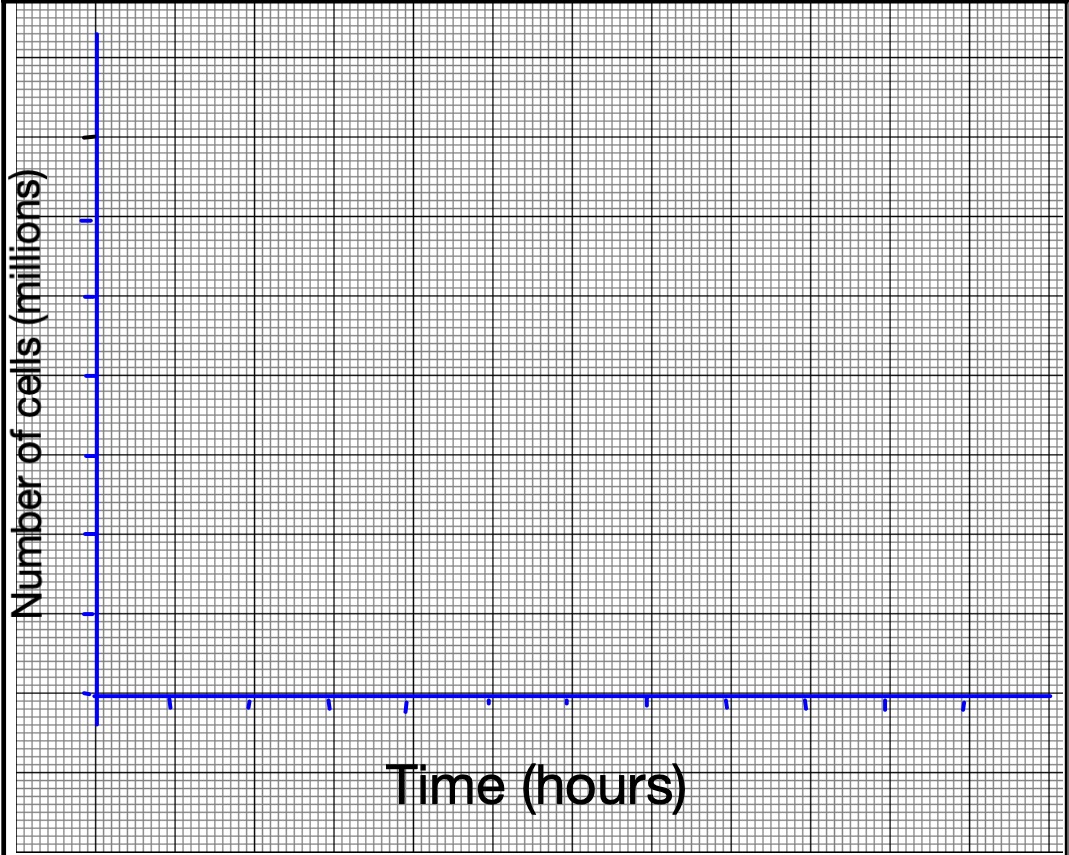
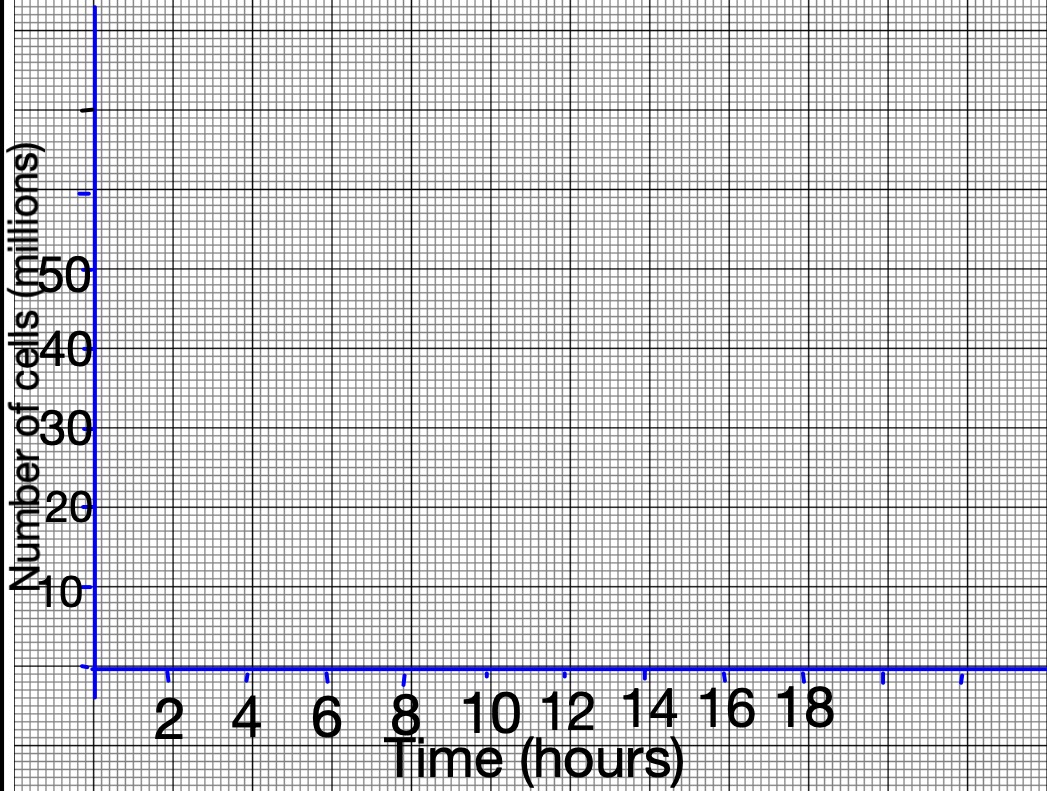
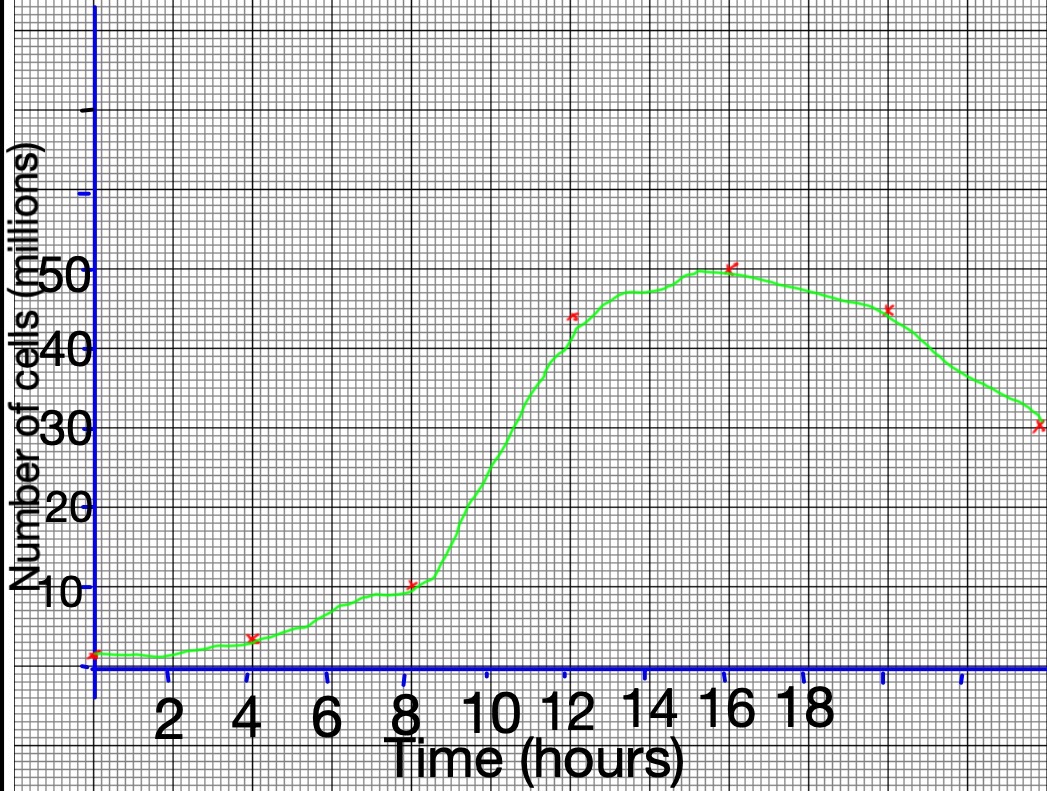
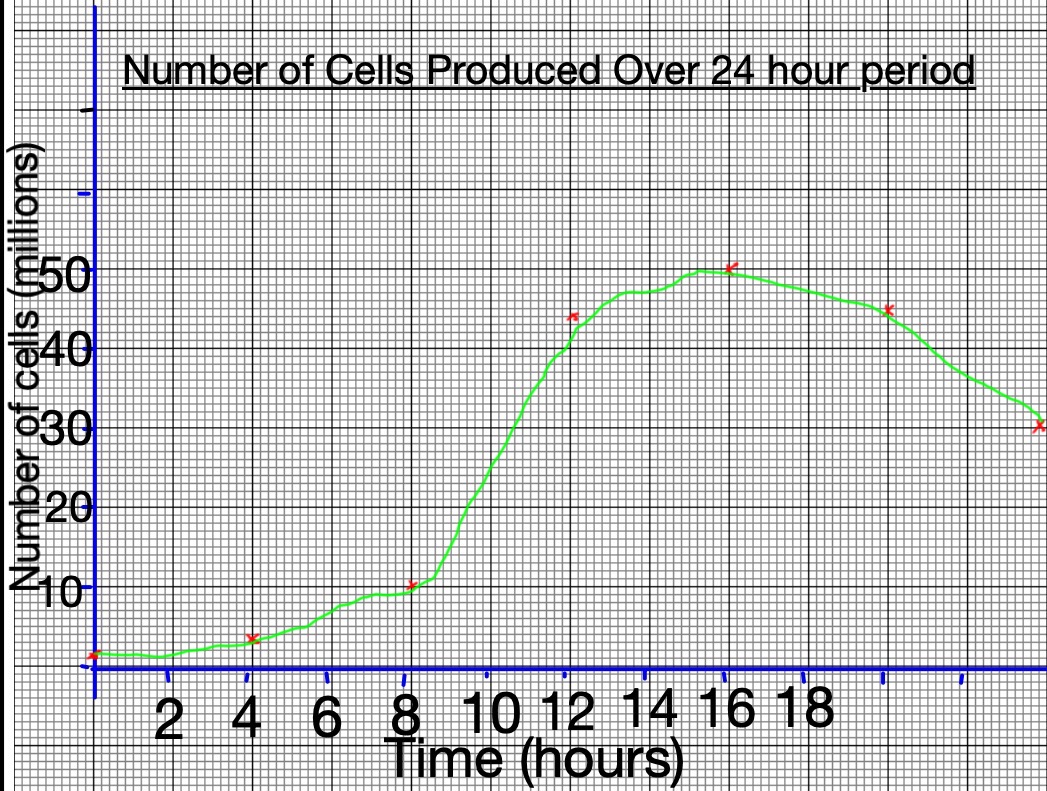
Use this step by step guide to help you to draw a line graph
Step 1
Draw the x and y axes on your graph.
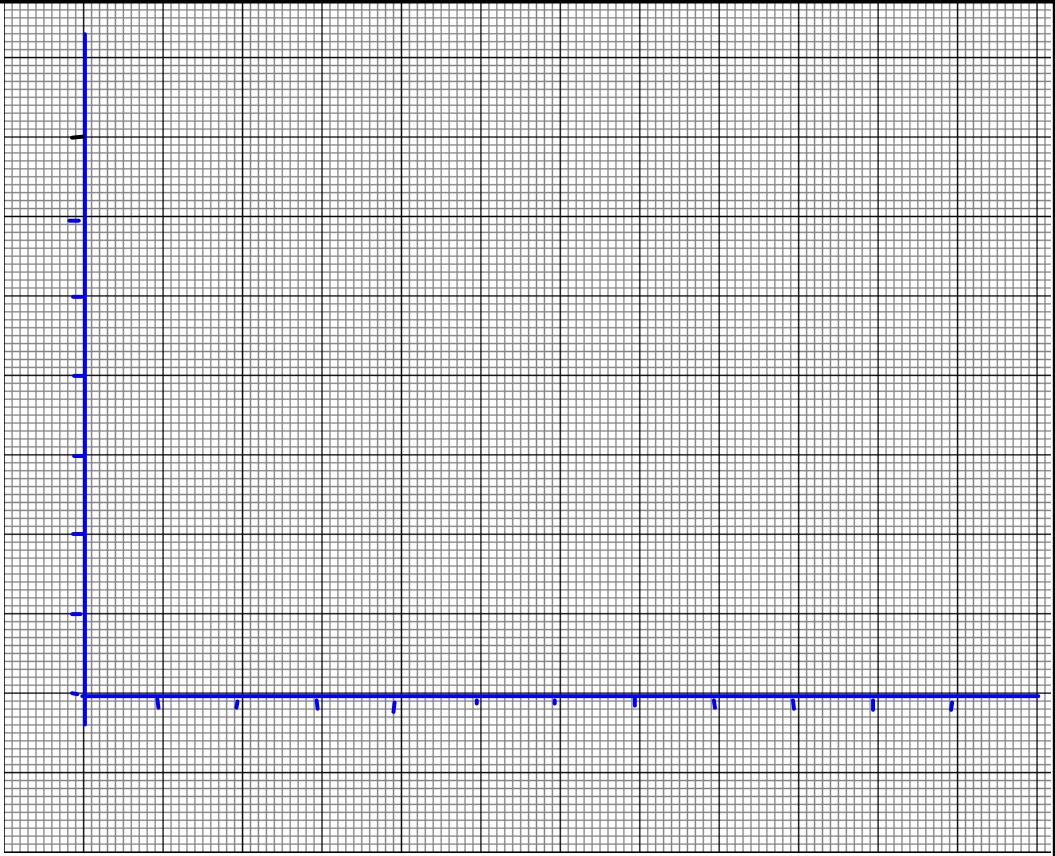
Step 2
Label the axes.
Step 3
Decide on a scale for both axes. The scale should increase in regular intervals.
Step 4
Use the data from the table on the worksheet to plot the point. Once you have done this plot a best fit line.
Step 5
Give your graph a meaningful title
As a minimum, note the words in blue.
(1) External Defenses
(2) Internal Defences
This is your IMMUNE SYSTEM.
(3) Artificial Defence